Skip to content
Facebook Pinterest Instagram

Sign up for the newsletter!

  • Quilts
    • Nature Scenes
    • Animal Inspired
    • People
    • Traditional
    • Christmas
    • Fiber Art Friends
    • Smaller Quilts
  • Blog
    • Updates
    • Newsletters
    • Tips
    • Quilt Story
    • Misc
  • Shop
    • Quilts
    • Books
    • Patterns & Tools
    • Photo Map Kits
  • Classes
  • Contact
  • Accolades
  • Books
  • Events
  • Awards
  • Publications
  • Shows/Exhibits
Menu
  • Quilts
    • Nature Scenes
    • Animal Inspired
    • People
    • Traditional
    • Christmas
    • Fiber Art Friends
    • Smaller Quilts
  • Blog
    • Updates
    • Newsletters
    • Tips
    • Quilt Story
    • Misc
  • Shop
    • Quilts
    • Books
    • Patterns & Tools
    • Photo Map Kits
  • Classes
  • Contact
  • Accolades
  • Books
  • Events
  • Awards
  • Publications
  • Shows/Exhibits
Search
Close
$0.00 0 Cart

Tips

Loading...
Jun 30 2010

Blocking and Cutting Square

xsmdsc05228

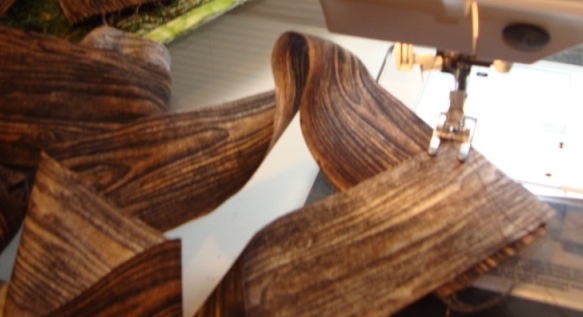
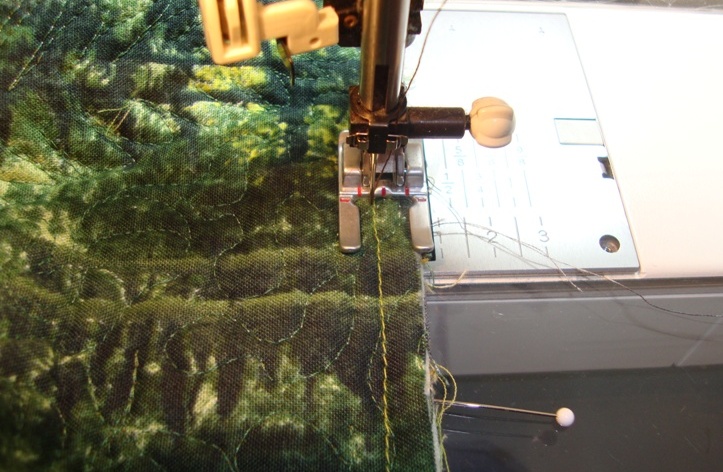
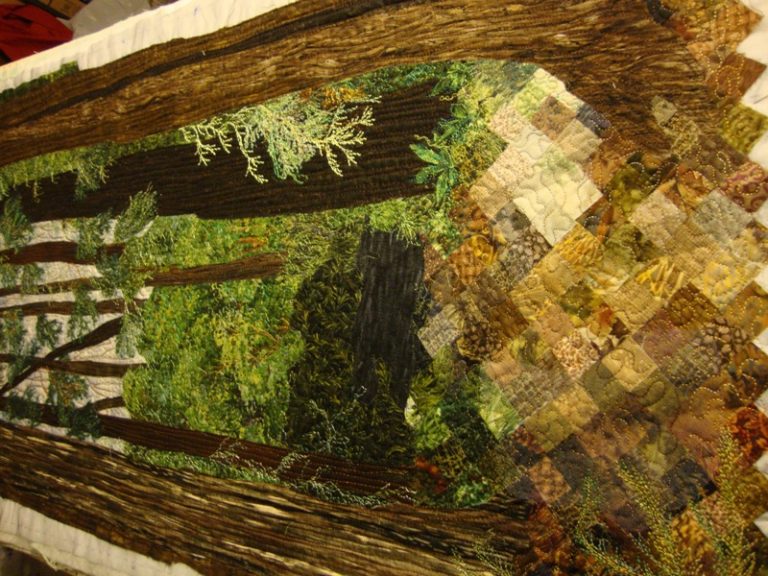
Almost finished, but there's still work to do.

Because I quilt heavily on these art quilts, when they are done, they are kind of "wonky".  So I laid this little lovely on the ironing board (face down) spritzed it with water and steamed from the back. (don't want to melt those lovely threads)!!

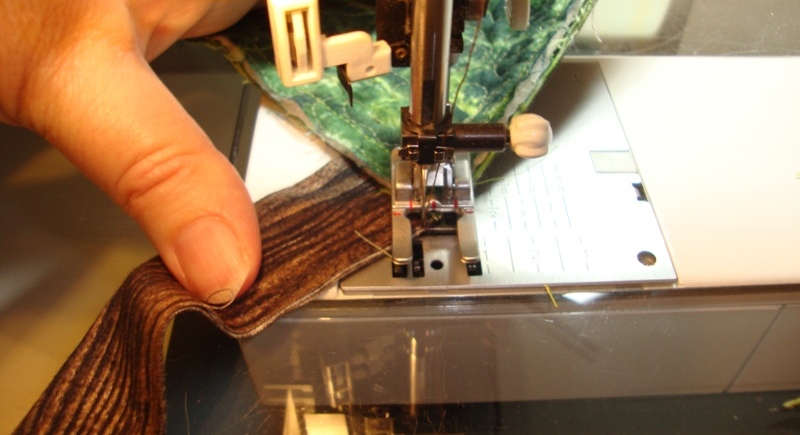
That worked pretty well, but I decided to flip it over and spritz again.  I pinned it to the board kind of stretching it lengthwise and let it dry over night--NO pressing from this side.

If I'm doing a BIG quilt, I put in the washer to really get it wet, then spin out the water and stretch it out on the floor, pin and let dry.  It usually settles it down nicely and then I can cut a good line and it will (hopefully) lay flat and square!!! That's the goal.

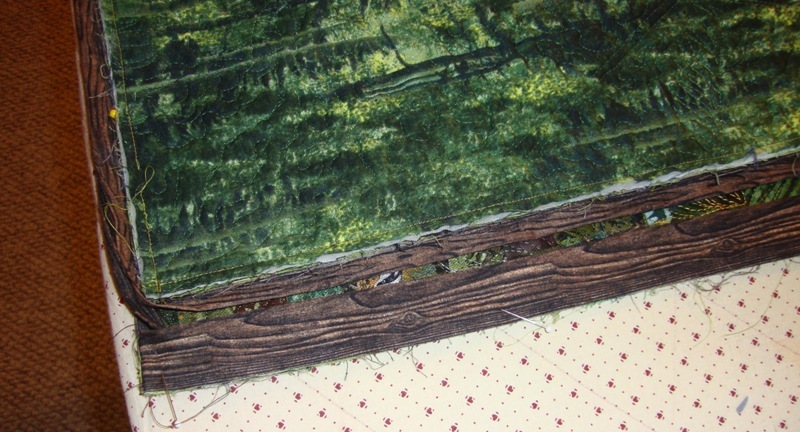
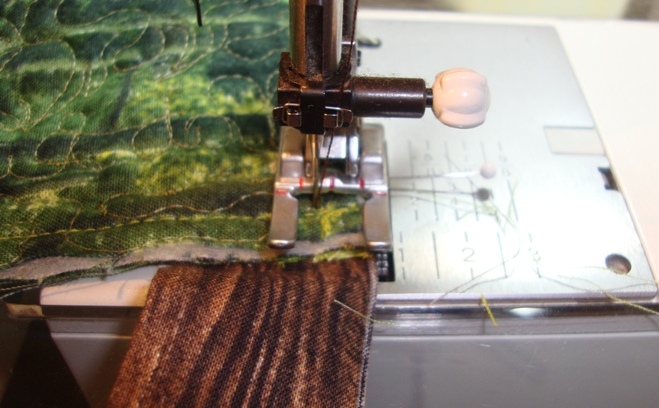
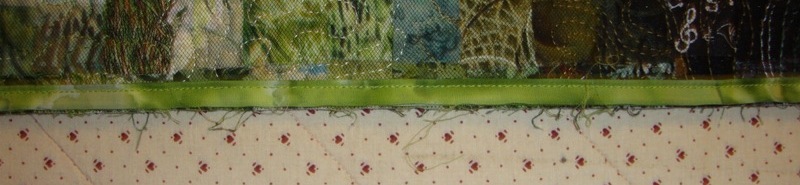
THEN WE CUT IT SQUARE!!

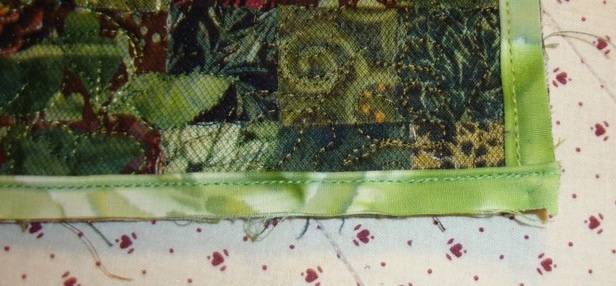
So after it's dry, I try to cut it salvaging as much of the artsy area as possible.  In this case, it was important for the line across the bottom to be right because of the diagonal squares there, so that's where I started with my first cut.  Everything else will have to match up to that.

xsm_cutting

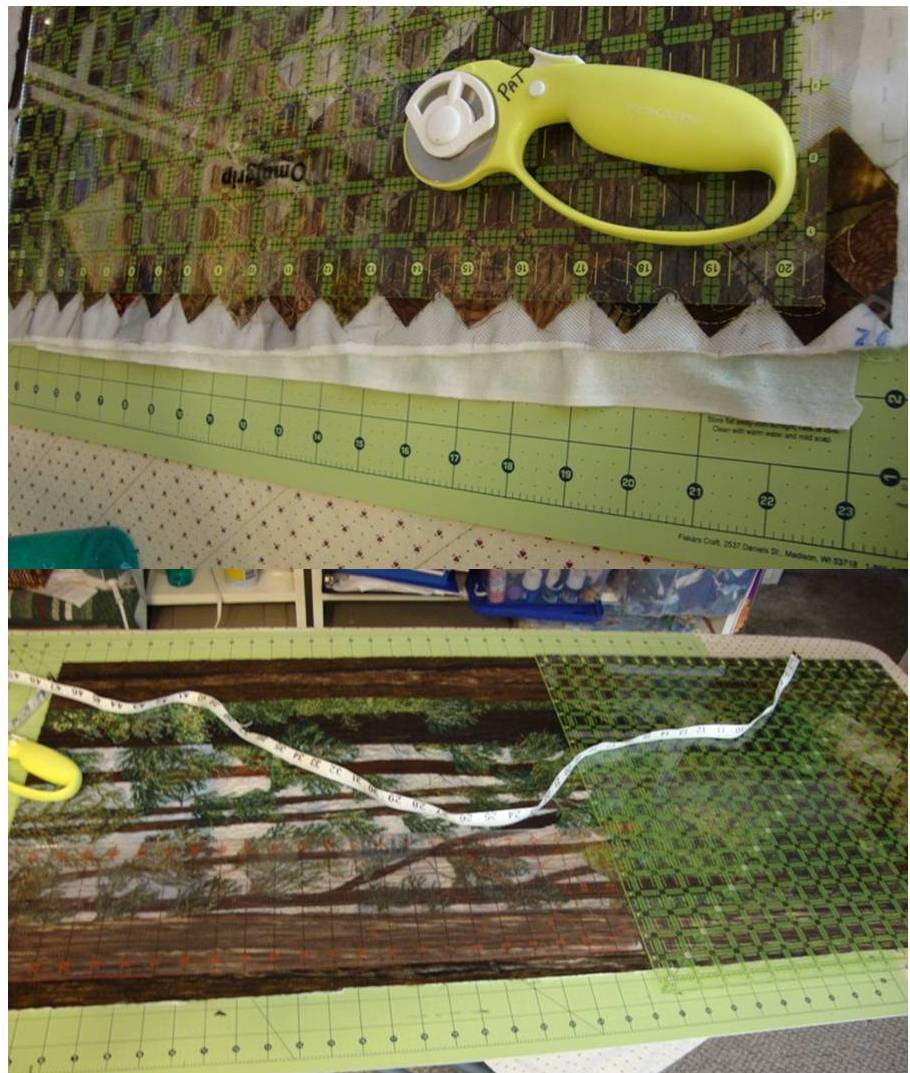
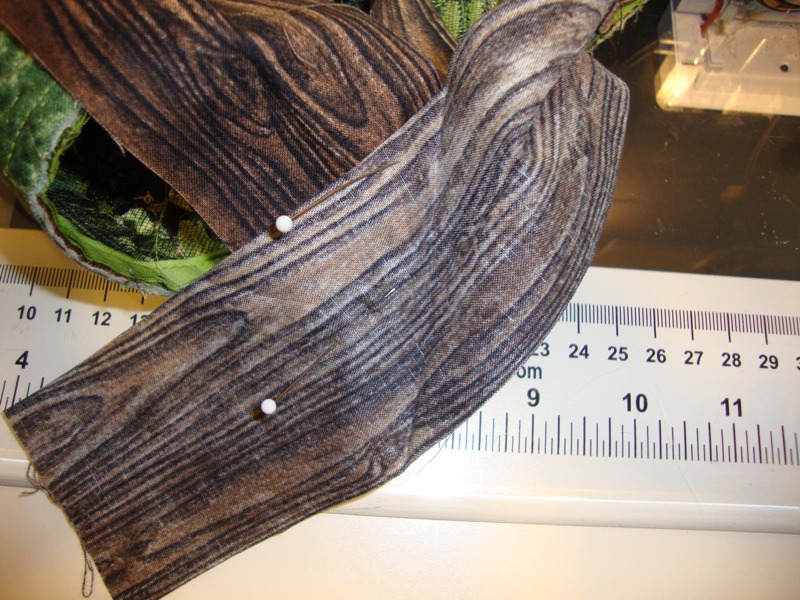
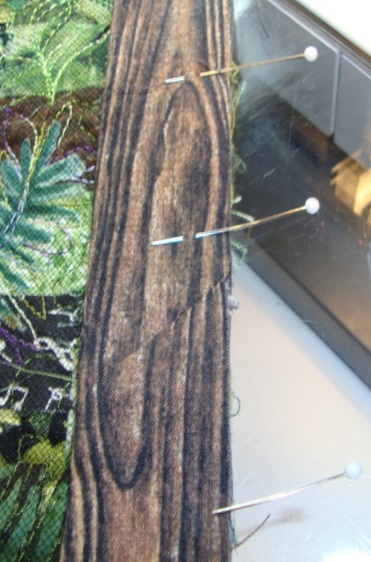
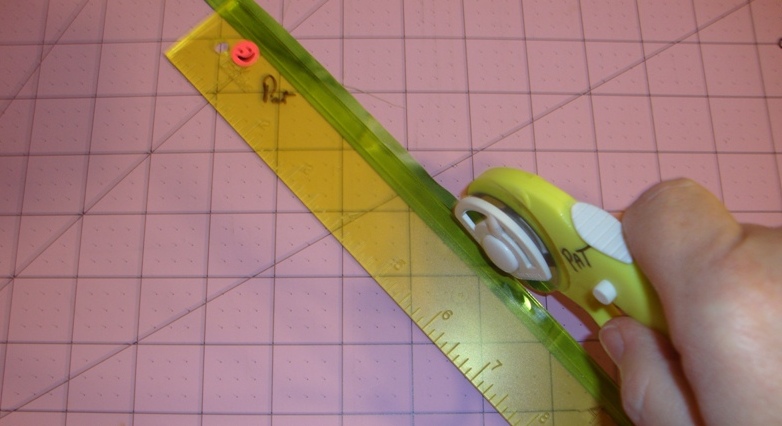
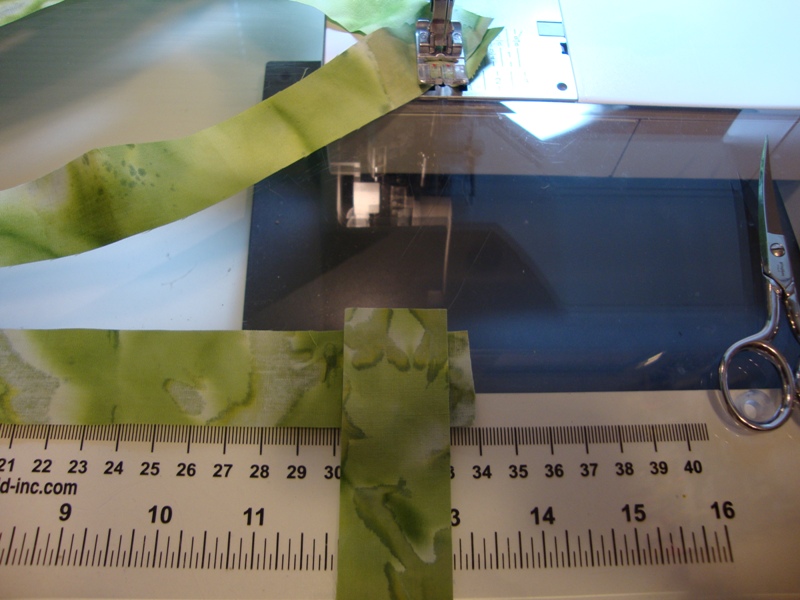
I have a nice large cutting board that is almost big enough for this whole quilt.  If I do one end at a time, it'll work.  The 20 1/2" square ruler is really helpful in getting the corners a true 90.  If the quilt's bigger, I enlist super husband to help me with his carpenter skills and we take it over to the church and put tables together and make a real session of it.

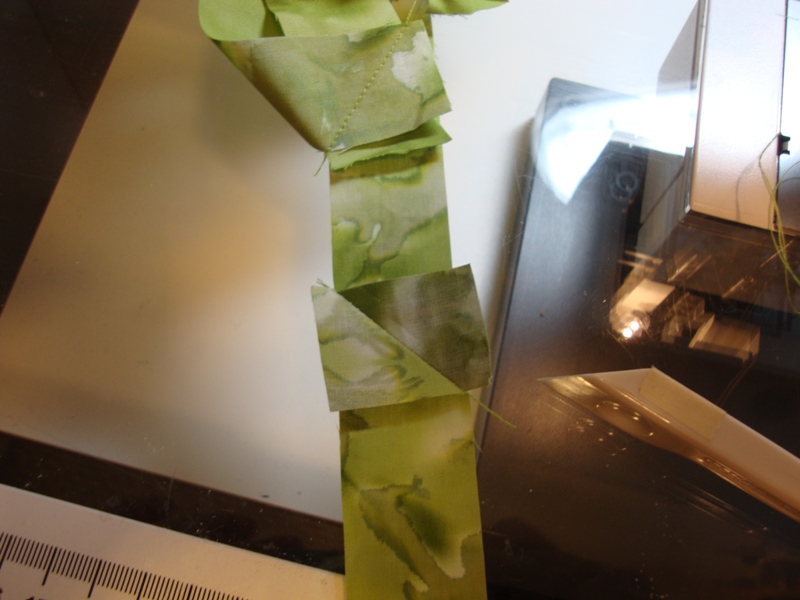
Notice that you can lay two rulers together to get the sides. Measure, measure, measure.

Wow what an ordeal.  But it's worth it to get it right.


Jan 01 2010

Finishing 4–binding

x2smline_up

Here we are again binding the big quilt.

The bottom edge shows the folded back binding ready to be sewn.  The top is the already sewn other side.  I pinned them together to make sure they match (avoiding the stretch monster).  Now I know they are the same size and I can go on with confidence.

x2smline_up

After you have completed 3 sides and have turned the corner on the 4th, you need to leave a gap of at least 10" or so with tails of binding on each side.

We had folded the beginning edge at a 45 degree already so it's ready to meet the other end.  I put a little basting glue along that diagonal edge and then fit the end binding into it.  Smooth it out, make sure everything fits right and then add pins to hold it for sure.

x2smjoinglue

You can then pull the binding away from the quilt and manipulate it to fit into your machine so you can stitch along the folded diagonal.  Press the seam open, trim to 1/4" and then align it along the edge of the quilt again, pin well and stitch the binding to the quilt to complete the whole binding.

x3smjoinpin


Then you can see it just looks like any other seam along the length of the binding.

x4smjoinsewdown

The last step is to turn the folded edge to the back of the quilt and hand stitch with your nicest hand stitching so it covers the machine stitching line and looks great from the back.


It's done, congratulations!


Dec 28 2009

Finishing 3 — binding

xsmbinddiag

When there is piping involved I put my binding on upside down and backwards! - this is the method taught by Susan Cleveland and it works great.

So you join the binding strips with diagonal seams as shown before until you have the length needed to go all around the quilt plus some extra for insurance and joining.

xsmbinddiag

Press seams open raw edges together, right sides out.  Leave a tail unsewn of about 10".  (There are easier ways to do this, which I use on my small quilts, but this is hopefully a show quilt and I'll try to make it top notch.)

I pin baste over the piping (on the ironing board again to avoid the stretching monster) then sew from the back using the piping seam as a guide.

xsmsewfrback

When I get to the corner I stop where the piping seam intersects and drive off the corner diagonally...remove from the machine and fix the corner like you normally would.

xsmcornerbind


xsmcornbindoff

Dec 28 2009

Finishing 2– piping

xsmpiptrim

Now we have the piping constructed and we're ready to move on

This shows how I trim my piping with an "add a quarter" ruler.

xsmpiptrim

I snug the ridge right up against the piping and cut.

Always position and pin the piping while on a flat surface (remember the stretching enemy) we want to keep that from happening.

Then we stitch one side at a time.

xsmpip

The corners are just crossed.

xsmpipcorn

Dec 26 2009

Finishing 1–on long strips

xsmdsc02986

My "BIG" quilt project is almost done.  I'm going to finish the edge with piping and binding.  I need about 10 yards (360") of 1 1/8" green for the piping. I'll repeat from brown with wider strips for the binding.

I thought some of you might like some tips on how I approach finishing a big quilt. Stretching is the enemy when binding something you want to hang straight and square on the wall.

So here are some things I do.

building the piping...

  •  I cut the strips on the lengthwise grain of the fabric. (less stretch)
  •  Next I want to sew all of the strips together with a diagonal seam (less bulk)

 xsmdsc02986

  • So I line the ends up at right angles (90) and sew across from A to B at (45)
  • Lay the strip away from the sewing area and then fold back on itself to keep from getting twisted..that way you'll always be sewing the seam on the same side of fabric as the last seam. (does that make sense?)
  • Keep sewing seams diagonally until all strips are joined (a long piece)
  • Next I clip the threads and press open the seams, then trim both sides of seam allowance to 1/4" or so.

xsmdsc02988

xsmdsc02989

Now we have a really long strip of 1 1/8" green to be folded and piping cord inserted

xsmdsc02992

Here it is with piping cord inside but untrimmed.

Sign up for the newsletter!

Facebook Pinterest Instagram
Copyright ©2019 Pat Durbin Quilts. All Rights Reserved.

Sign up for the newsletter!