Skip to content
Pat Durbin
  • Quilts
    • Nature Scenes
    • Animal Inspired
    • People
    • Traditional
    • Christmas
    • Fiber Art Friends
    • Smaller Quilts
  • Blog
    • Updates
    • Newsletters
    • Tips
    • Quilt Story
    • Misc
  • Shop
    • Quilts
    • Books
    • Patterns & Tools
    • Photo Map Kits
  • Classes
  • Contact
  • Accolades
  • Books
  • Events
  • Awards
  • Publications
  • Shows/Exhibits
December 28, 2009
/
Tips

Finishing 2– piping

xsmpiptrim

Now we have the piping constructed and we're ready to move on

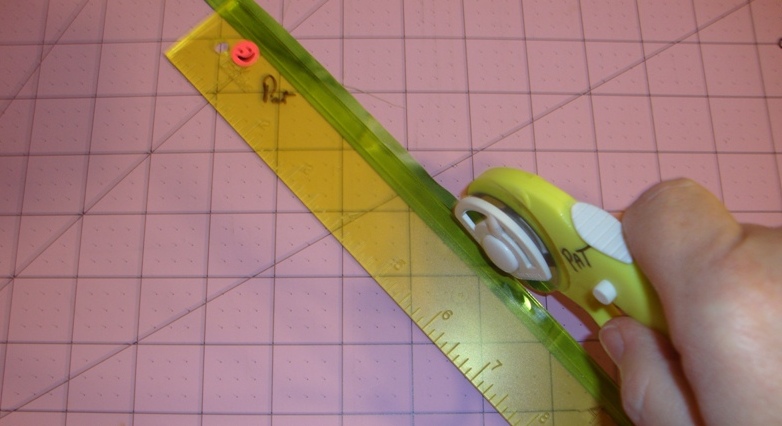
This shows how I trim my piping with an "add a quarter" ruler.

xsmpiptrim

I snug the ridge right up against the piping and cut.

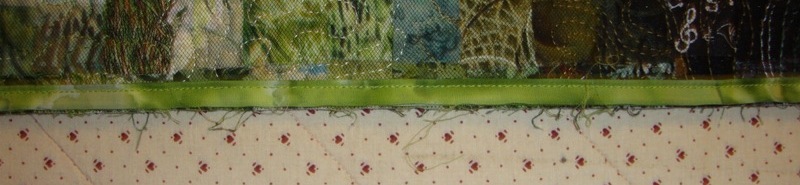
Always position and pin the piping while on a flat surface (remember the stretching enemy) we want to keep that from happening.

Then we stitch one side at a time.

xsmpip

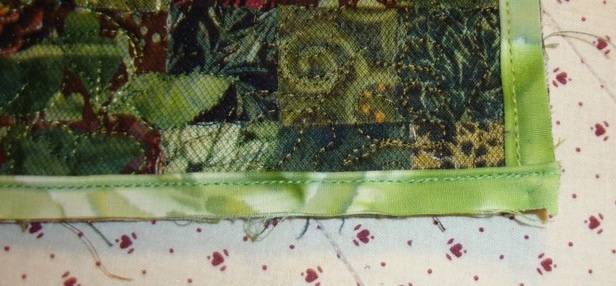
The corners are just crossed.

xsmpipcorn

Loading...
Previous - Finishing 1–on long strips | Finishing 3 — binding - Next
Copyright ©2025 Pat Durbin Quilts. All Rights Reserved.