Pat Durbin
Blocking and Cutting Square
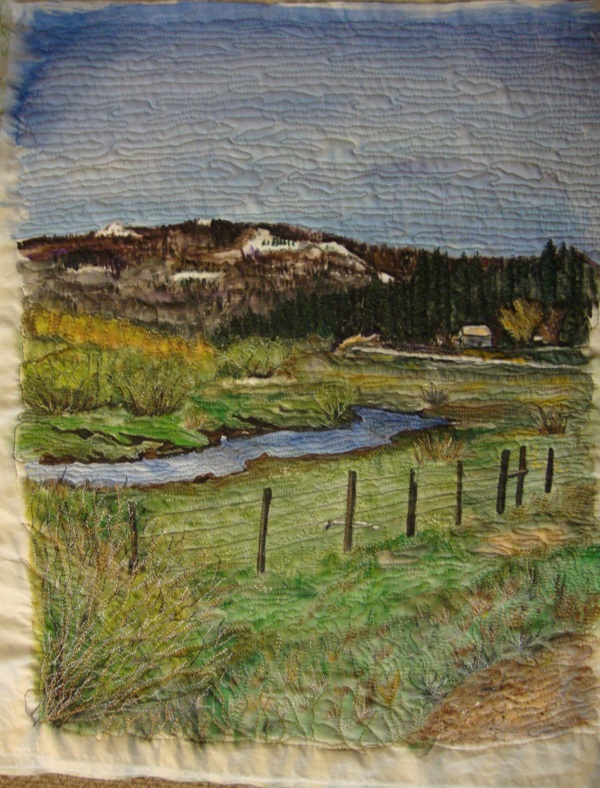
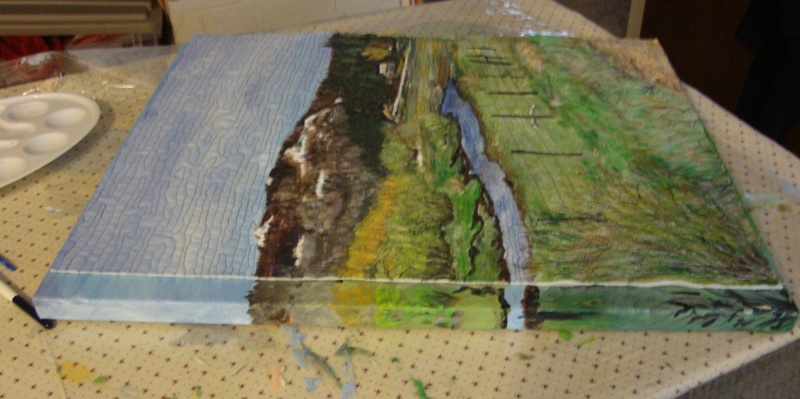
Almost finished, but there’s still work to do.
Because I quilt heavily on these art quilts, when they are done, they are kind of “wonky”. So I laid this little lovely on the ironing board (face down) spritzed it with water and steamed from the back. (don’t want to melt those lovely threads)!!
That worked pretty well, but I decided to flip it over and spritz again. I pinned it to the board kind of stretching it lengthwise and let it dry over night–NO pressing from this side.
If I’m doing a BIG quilt, I put in the washer to really get it wet, then spin out the water and stretch it out on the floor, pin and let dry. It usually settles it down nicely and then I can cut a good line and it will (hopefully) lay flat and square!!! That’s the goal.
THEN WE CUT IT SQUARE!!
So after it’s dry, I try to cut it salvaging as much of the artsy area as possible. In this case, it was important for the line across the bottom to be right because of the diagonal squares there, so that’s where I started with my first cut. Everything else will have to match up to that.
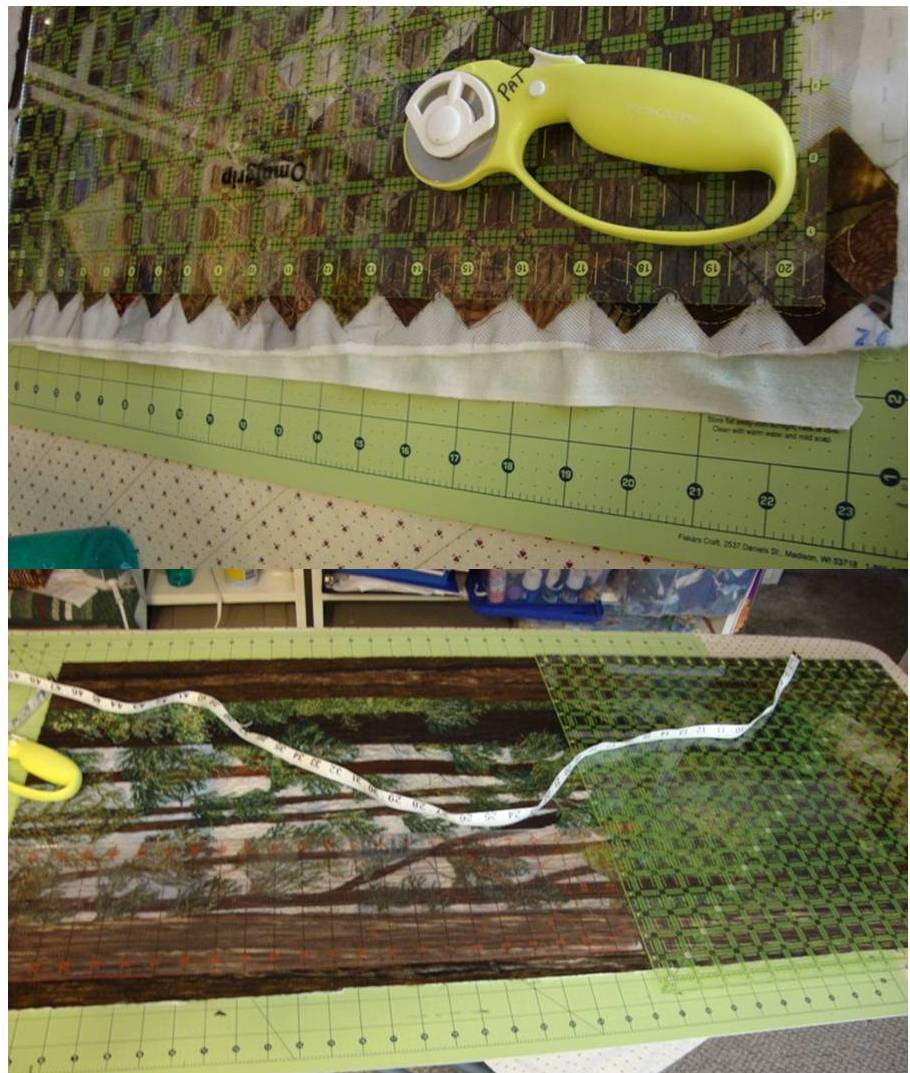
I have a nice large cutting board that is almost big enough for this whole quilt. If I do one end at a time, it’ll work. The 20 1/2″ square ruler is really helpful in getting the corners a true 90. If the quilt’s bigger, I enlist super husband to help me with his carpenter skills and we take it over to the church and put tables together and make a real session of it.
Notice that you can lay two rulers together to get the sides. Measure, measure, measure.
Wow what an ordeal. But it’s worth it to get it right.
Quilt Demo at the Fair
We had our local Redwood Acres Fair, and this year they had various demos to show the public about quilting. I thought that was a great idea and it was quite successful.
Mine was free motion quilting..so I took a sort of normal quilt to show and then a small redwood art quilt to show details and quilt. This quilt was inspired by a pile of redwood boughs I had made with thread and not used on the large Forest Walk quilt. They needed a place to live.
My next blog will show a few more details about finishing up this little quilt.
More quilters makes for fun!
The “Pots” collaboration is finally done. It will be shown first at Redwood Acres Regional Fair.
I must say that this was a fun experiment. I’ll show you my part and then the finished quilt.
First I was given an outline drawing, full sized, and a tiny 1/8 of a 4×6 photo of the picture. No one (except the two who organized the project) saw the whole photo. So the instructions were to use colors as close to the photo as possible and we were given a strip of yellow print for the inside border. We all went home and went to work. We constructed our piece + 1/2″ seam allowance to the required size, added the yellow border and a border of our choice, then quilted our little section.
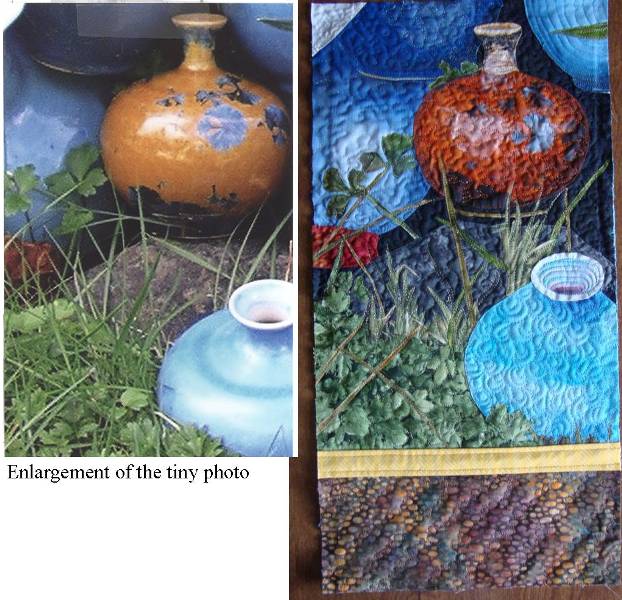
Then we met to unveil the results. We pinned up the pieces with backs showing.
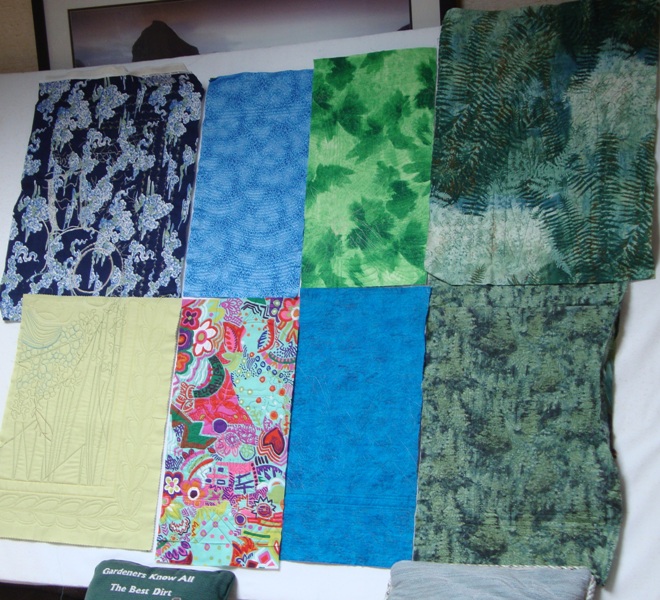
next, 1 by 1 we turned them over. It was really exciting to see the picture revealed bit by bit.
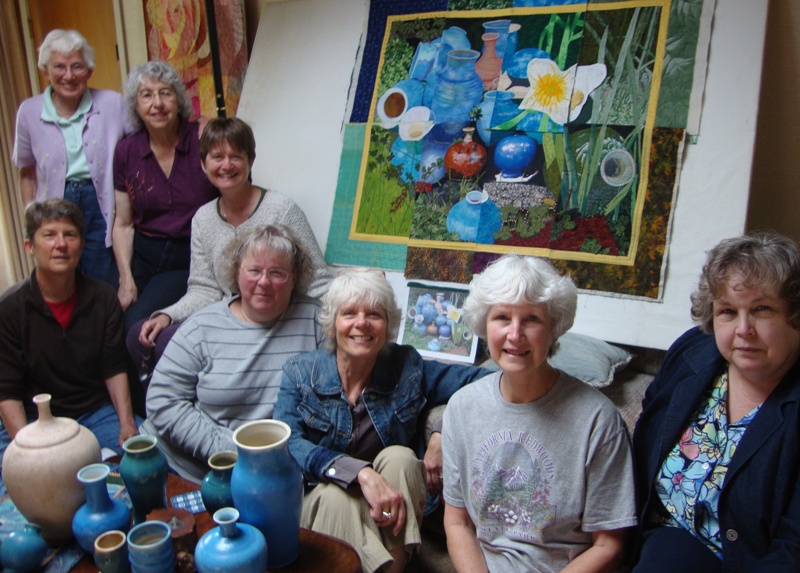
Each participant received a “pot”. The quilt will be shown at a couple of locations then sold and the proceeds given to a charity to be decided by the group. Edith & Donna (directors) Jerry, Maggie, Cheryl, Jody, Diane and Pat.
I’m pleased with the results and was happy to have been included in the artsy 8 quilters group.
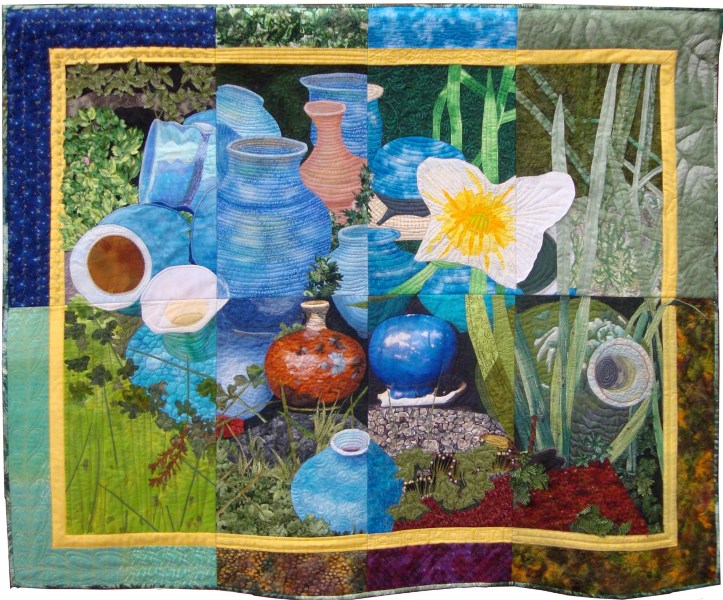
the bright blue pot near the center has a reflection of Edith taking the original photo. Jody used photo transfer to capture that little spark of reality to her square.
A Beautiful Day!
It’s so nice to wake to the sun shining into the window! It’s a blessing from the Son shining into our lives.
My week has been full of stitching and evaluating. I’m also preparing for an adventure next week. Here’s a peek at the stitching I’ve been doing. This is “Hydrangea”.
So there are areas of trapunto under areas of stitching.
I think it’s going to work out…maybe not to be “great” but interesting anyway.
So enjoy your day.
It’s time for me to pack!

