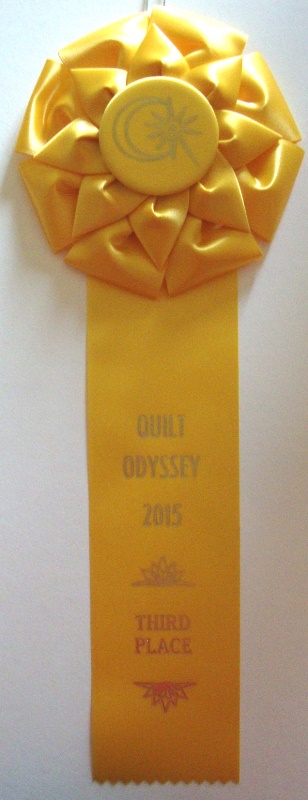
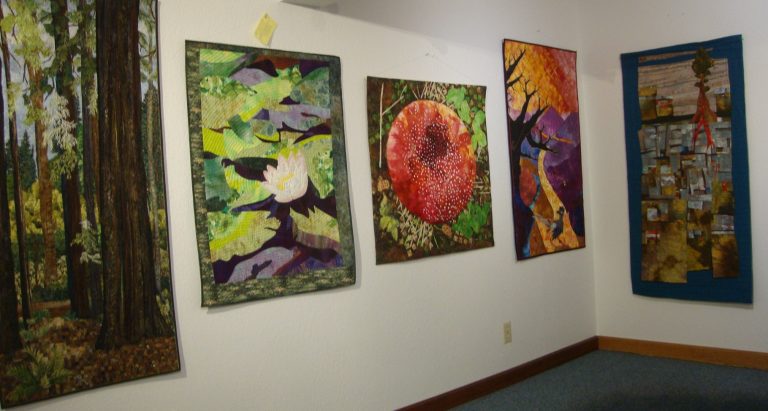
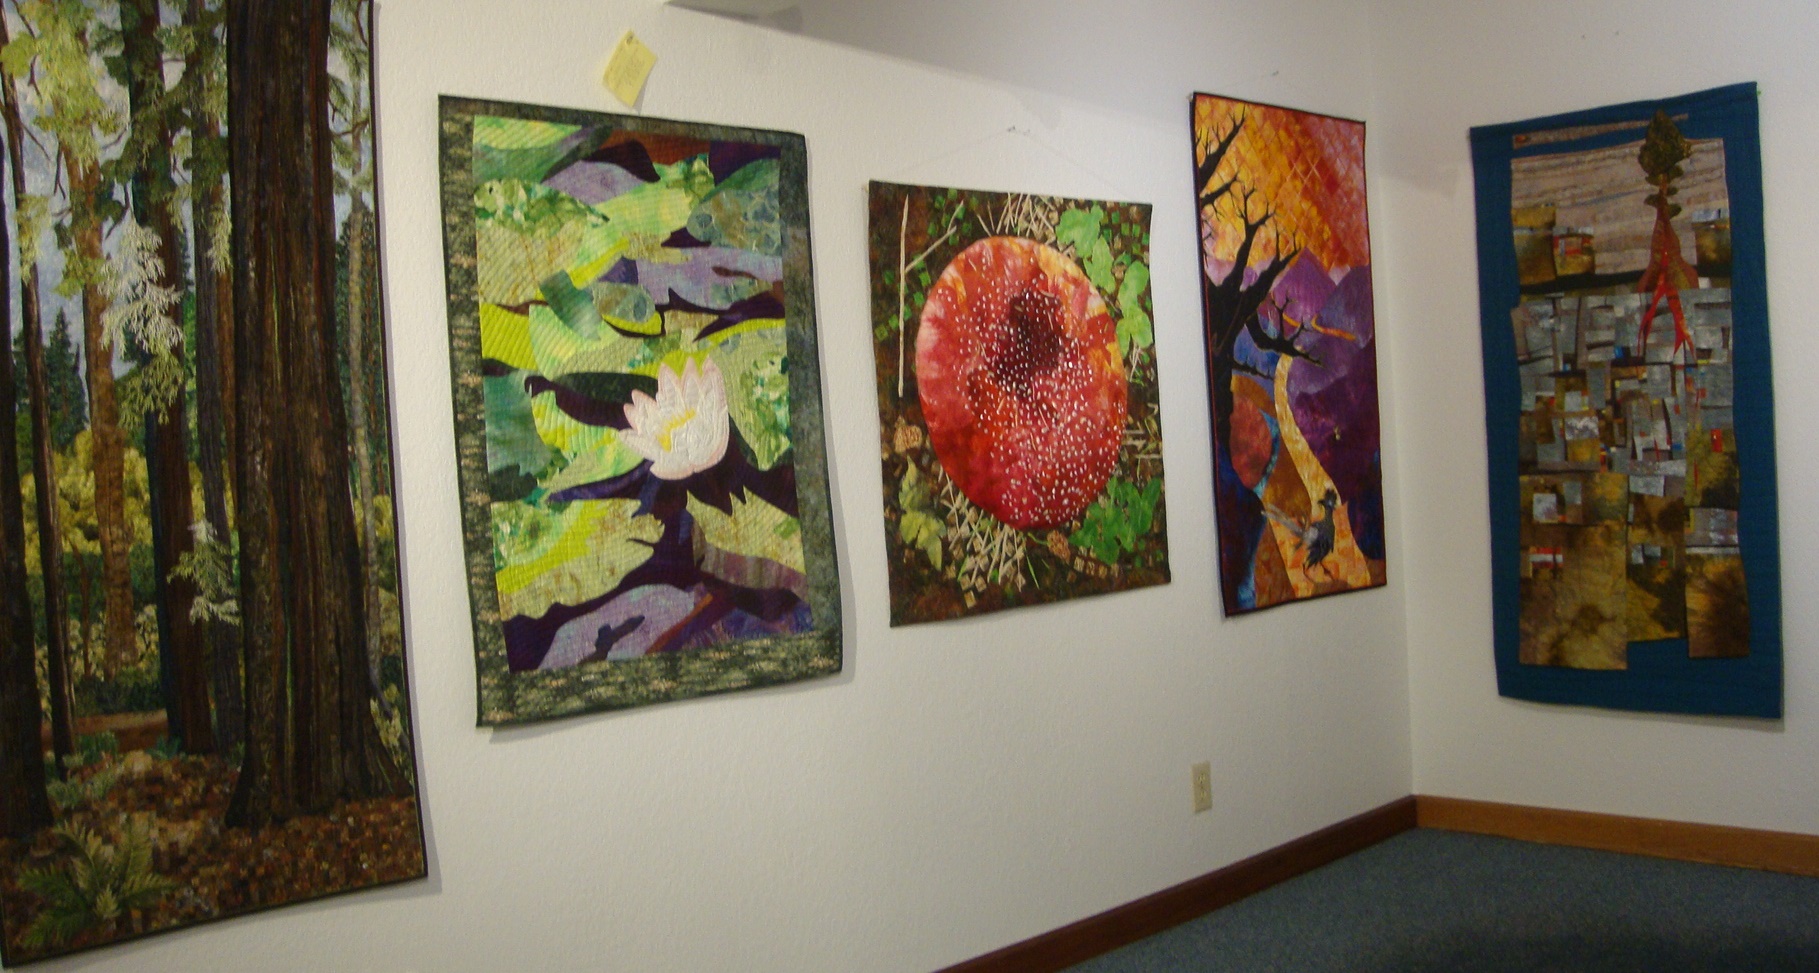
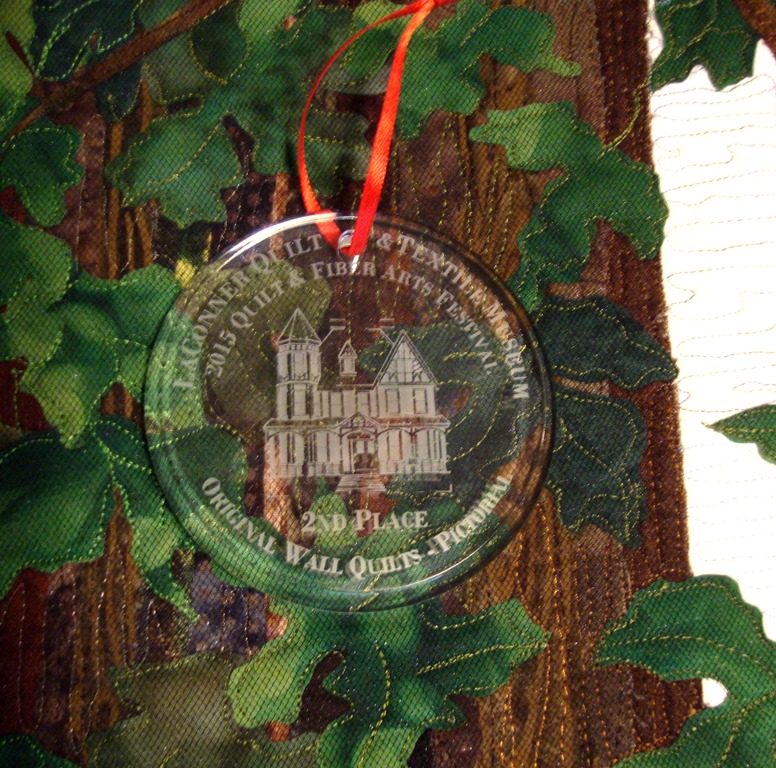
My quilt "Sunlight in the Forest" made the trip to the La Conner Quilt & Textile Museum in Washington state. It was given the honor of 2nd place in the pictorial division of the show. I was interested in the type of award that they gave. This lovely little glass ornament showing a silhouette of the old victorian when the museum is housed. http://www.laconnerquilts.org/2015-quilt--fiber-art-festival.html
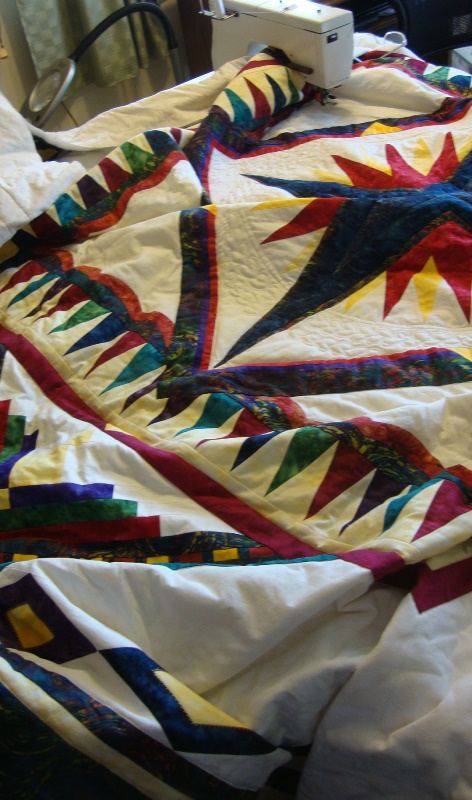
As you know, I usually don't make "bed quilts". Once in a while I do go back to my roots and give it a try. This one has been in the works (more off than on) for 2 or 3 years. Now it's finally at the quilting stage. It's way BIG. So I thought I'd give you a look at the set up I use for a big quilt.
My sewing desk opens up to about a 40" x 60" area. I started there, but soon found that the quilt would fall off the back edge and pull against me. So I put a small folding table at the back that almost fills to the edge of the room. This holds the weight of the quilt back there. I then pull out the left hand drawer on my desk and put a hard plastic cover over that, so that the weight to the left is supported somewhat.
Then I just wad the quilt up to stuff through the space in the machine and wrestle with the quilt to get it to the area I am working on at the time.
Obviously this isn't ideal. However, it does get the job done and makes it possible to use my little machine to do a big job.I'll be really glad to get this done - I really need a new spread for my bed. :)
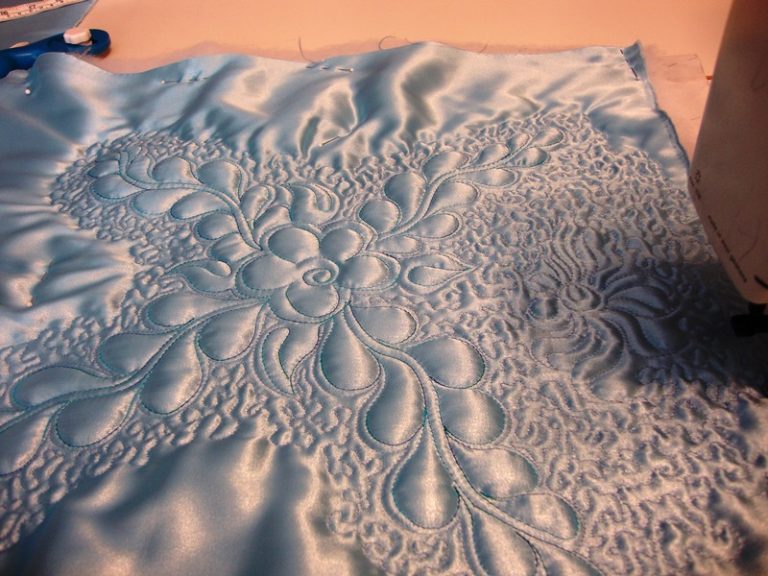
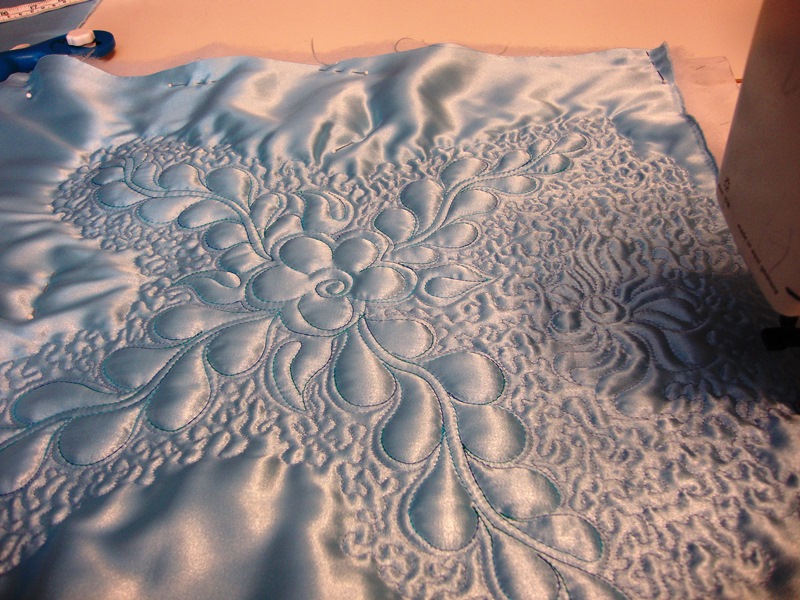
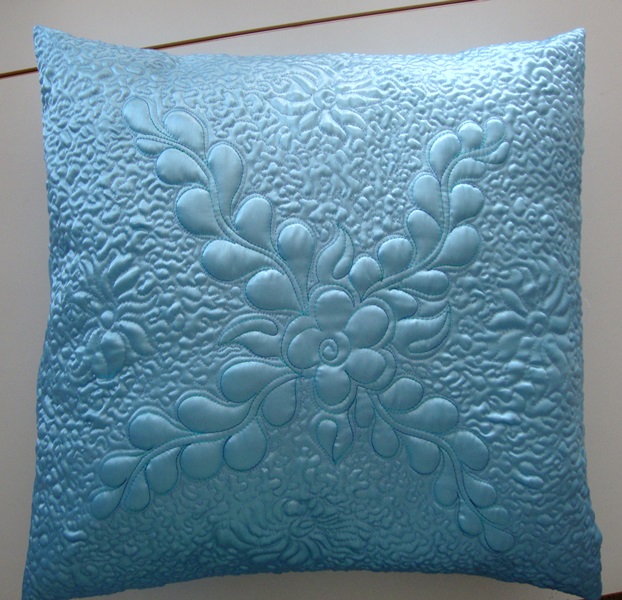
After much use even loved pieces need to be replaced. I decided that it was time to toss the old pillows on my couch and make new ones. I decided on a satin that matches my curtains. It also matches the sky in many of the quilts that will hang in the living room. Satin may not be the best choice but I love the lush look. Here's a few steps along the way.
First the actual quilting process.
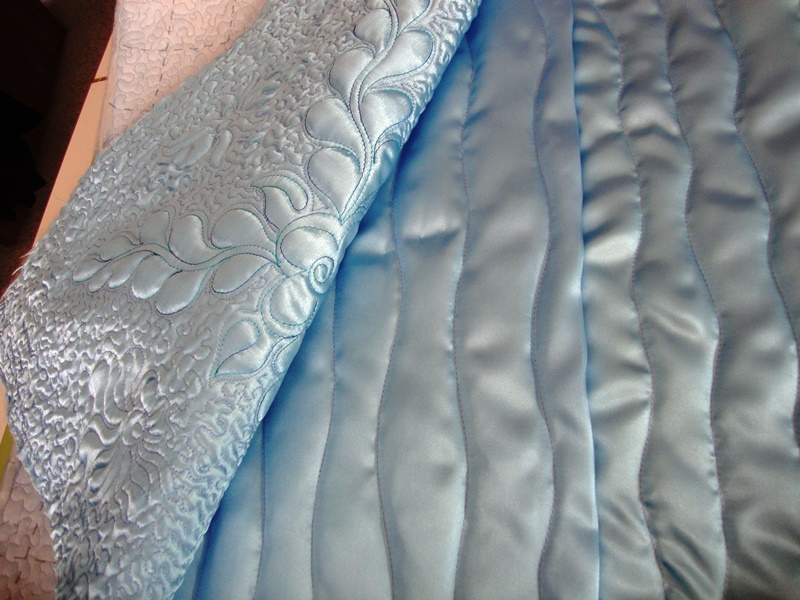
Next, I did wavy lines for the back and overlapped the opening for ease of inserting the pillow.
Then we have the completed piece...I like it...I hope it holds up well.
The final step in all of my quilts is to sew a label on the back and photograph it. The label is still waiting, and the photo I'll share is just a snap shot.
I'll have Gary do a more formal shot later.I'm pleased to have it done. It is not exactly as I had invisioned, however most quilts change as the process continues. I'm happy you've followed along from beginning to end.
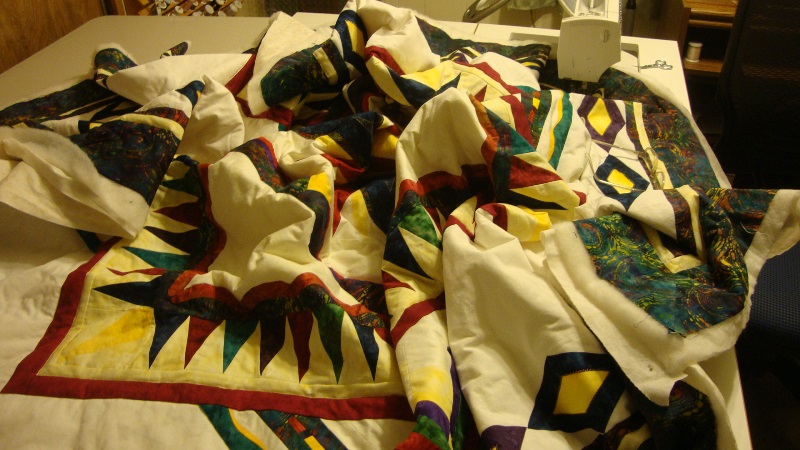
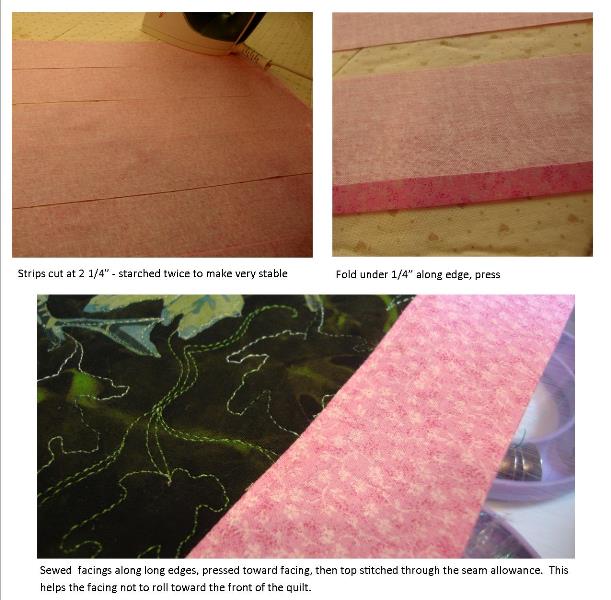
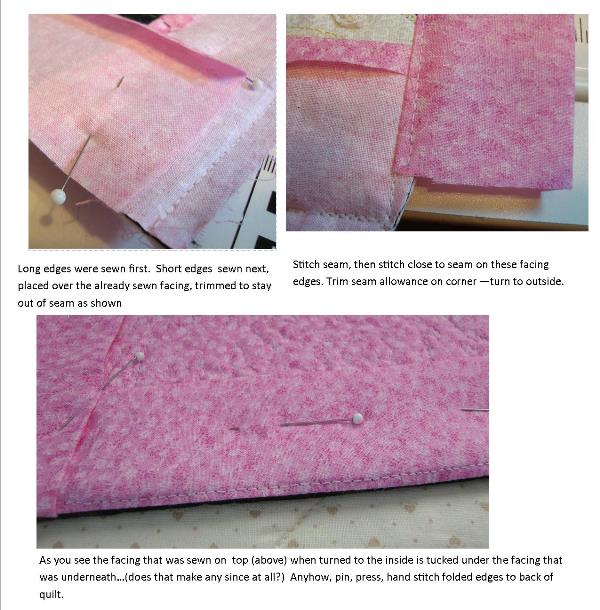
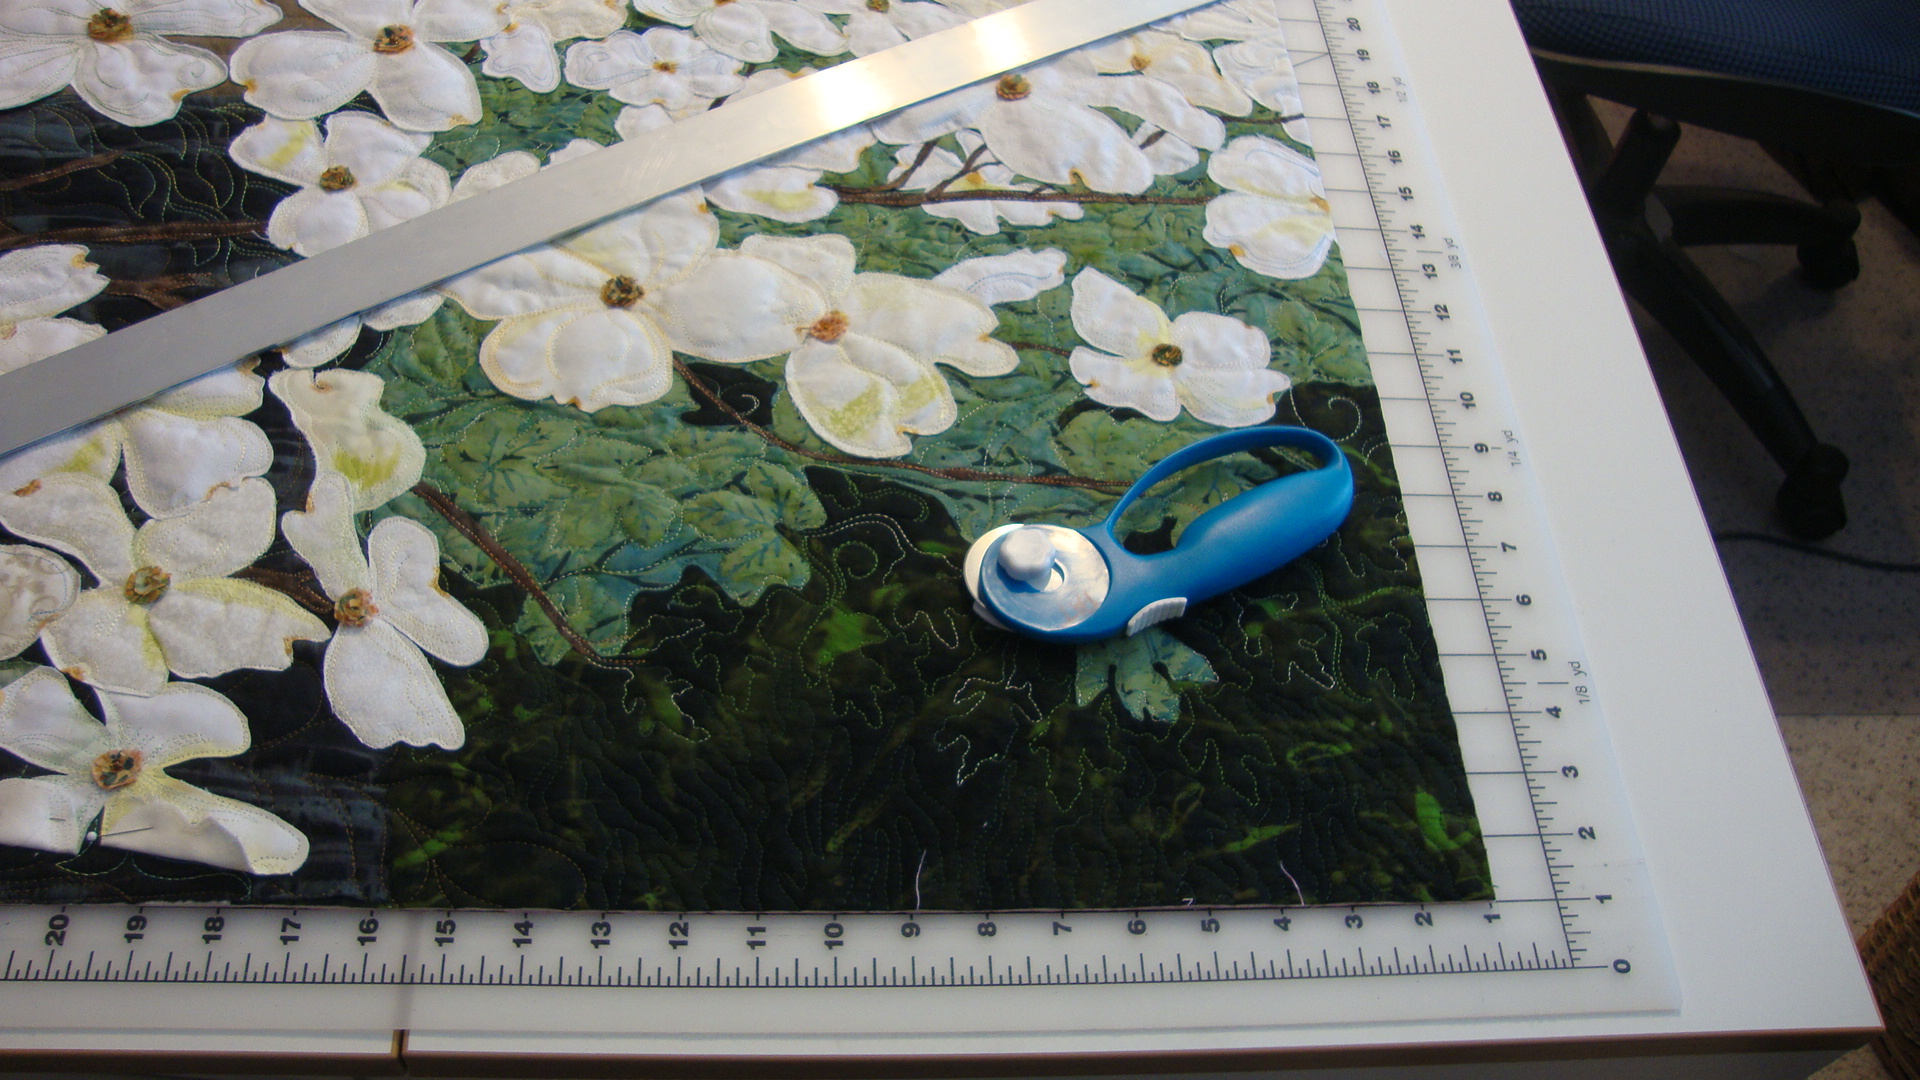
I've been anxious for this for a long time...I finally have the quilt ready to cut the edges and face them. Because the piece is really long, I have put two tables together to accomodate the length. I have a cutting board that is 59" long which we laid on the sewing desk and then another 24x36 laid on the second table. To assure the long edge doesn't wobble, it is best to see that whole length at once. This is a ticklish business, and I have my husband to thank for helping me with it. (Carpentry skills and know how are very useful). Our approach was to cut one long edge; measure to the second long edge and cut that. For these long edges we use a metal straight edge purchased at a hardware store. It isn't see through like our normal rulers, but with care can be used for this purpose. Now we had 2 parallel sides and could use the large cutting mat to lay those sides along the lines. We then could cut one end perfectly "square". Then measure to the other end, flip the quilt around and cut that one square to the board...works like a charm.
Then to check our work, we measure the diagonals. Corner to corner, if they are the same we're successful...and they are!! Yes.
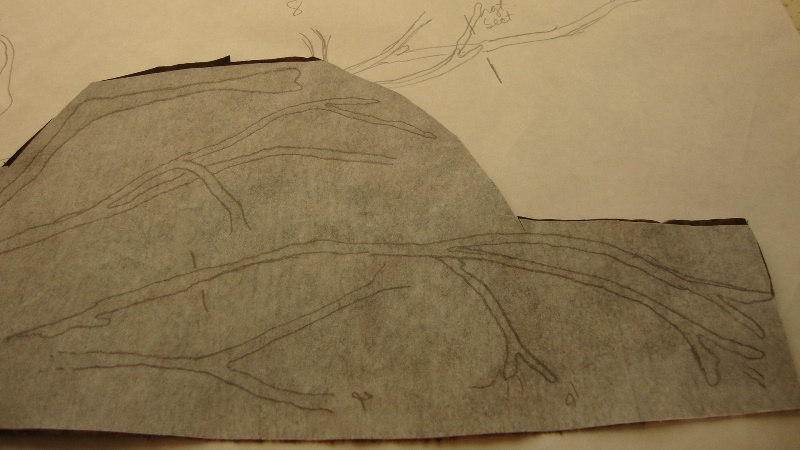
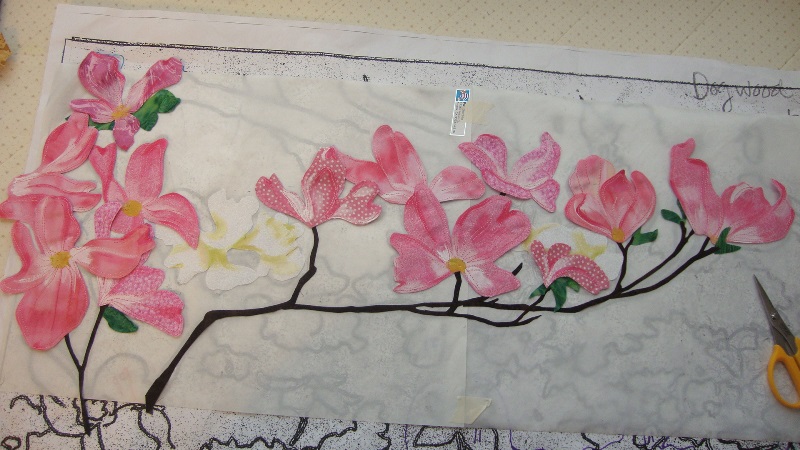
I'm so excited to finally be on the "home stretch". This is the last major branch. Here I'm drawing the branch reversed on paper backed fusible.
Then using an applique sheet I position the elements. I'll transfer them to the top portion of the quilt finishing the major parts. I'll probably go back and add some single items here and there to fill in where I think it is needed, but I'm hoping to start the facing soon.
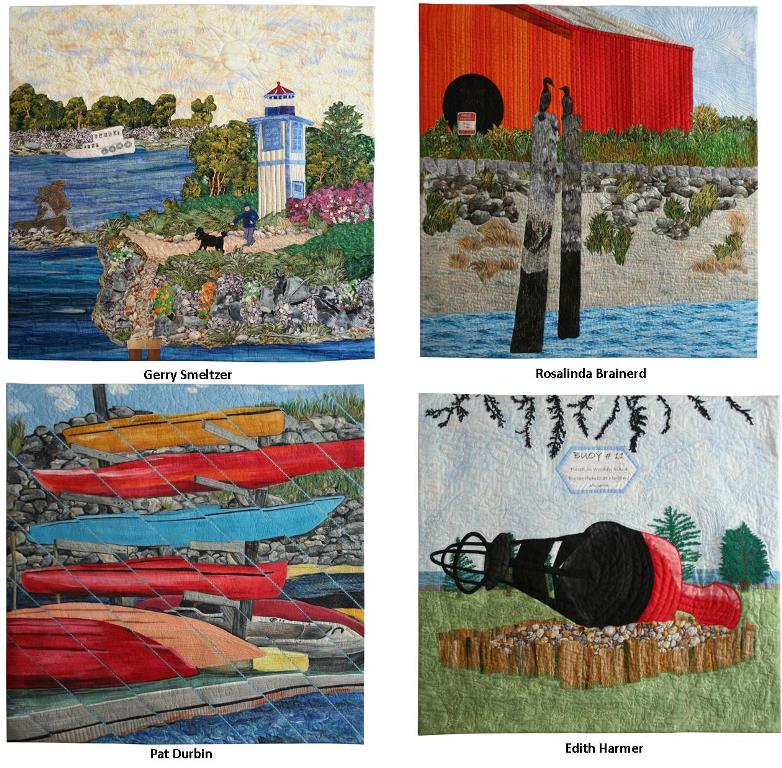
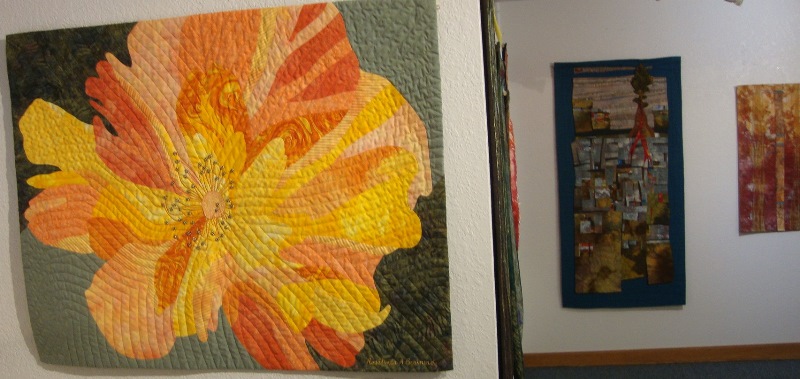
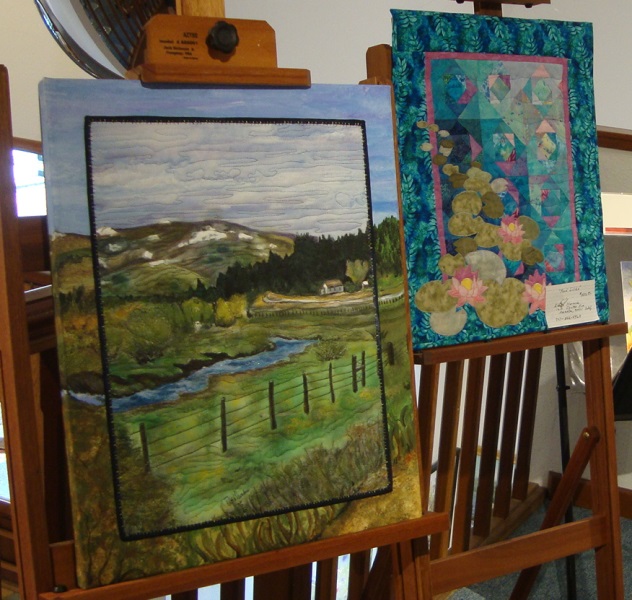
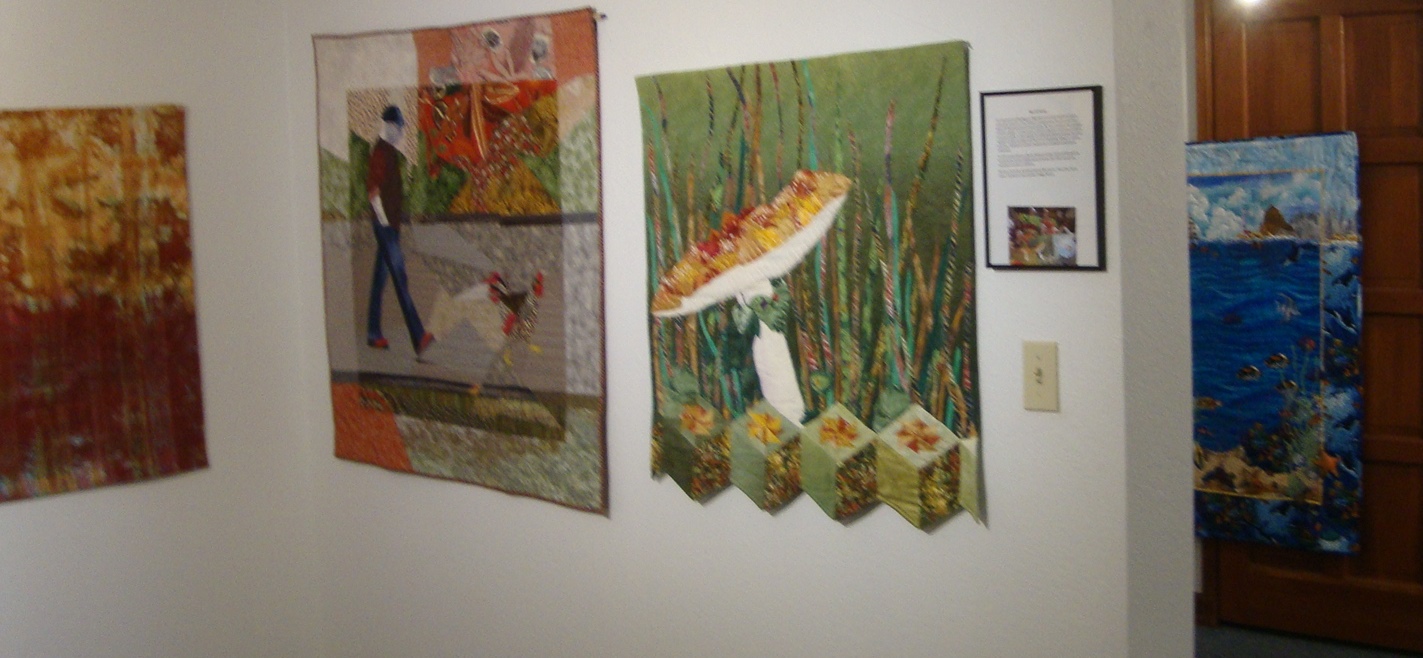
This month my "Fiber Art Friends" group has quilts at the Old Town Art Gallery at the gazebo on 2nd street in Eureka. We have one group quilt "Honey I Can't Find My Earrings!" and then several other quilts that are made by the members of the group. Everything is for sale. There's a reception Saturday night from 6 to 9. ereThere's also a nice article in the Times-Standard today.

 of the old victorian when the museum is housed. http://www.laconnerquilts.org/2015-quilt--fiber-art-festival.html