I have been designing some block of the month patterns for my Redwood Empire Quilter's Guild. The October block uses a freezer paper technique that some aren't too familiar with--so I've decided to show it here.
Following the pattern - you have cut two pieces 8" square of freezer paper.
Place one of those over the 5" circle pattern, paper side up and draw circle with a pencil or permanent pen. It doesn't have to be completely in the center ---place where you would like but be sure that it is at least 1" away from edge.
Then put the second freezer paper behind this one (both waxy sides down) and fuse with iron. (this will make a stiff template to work with)
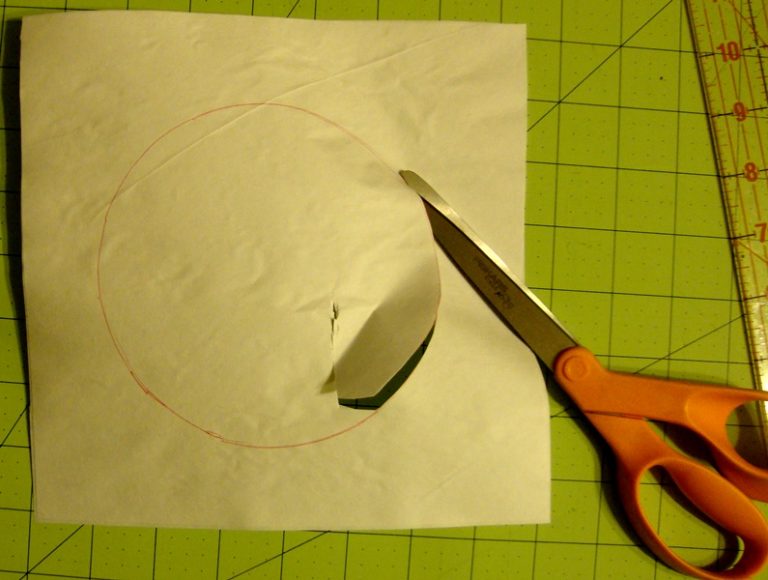
Puncture the inside of the paper circle and then cut with a very smooth line.

Put background fabric (face down) on ironing board, put template wax side down over it. Press
Trim inside the circle at about 1/2"
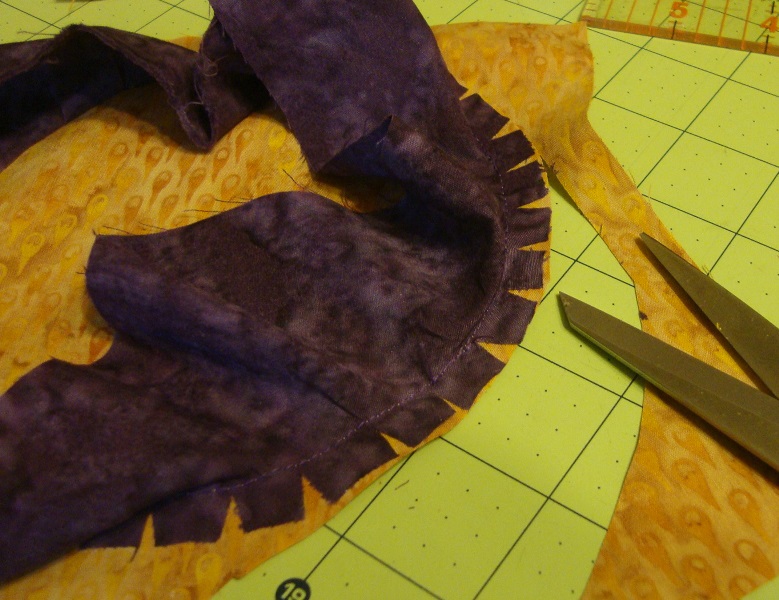
Clip seam allowance every 1/2 to 3/4" around circle
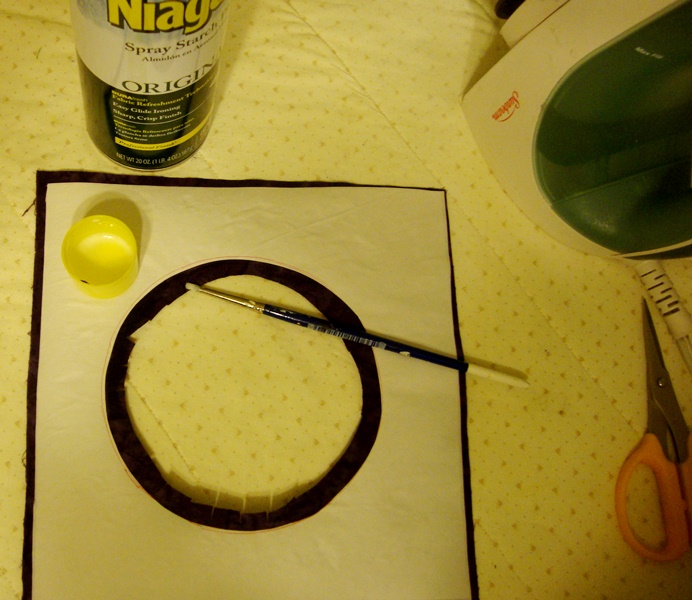
Use starch or sizing sprayed into the lid; use a small brush and dampen the fabric around the edge of the circle.
Fold the clipped edge over the freezer paper and press with the tip of your iron (until dry).
Carefully put glue around the fold of the circle seam allowance.
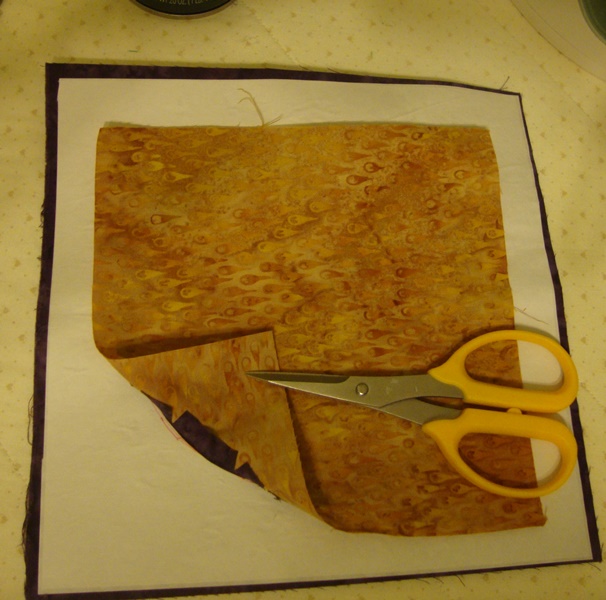
Place the Moon fabric over the glue and press dry.
Gently remove the freezer paper template from the background.
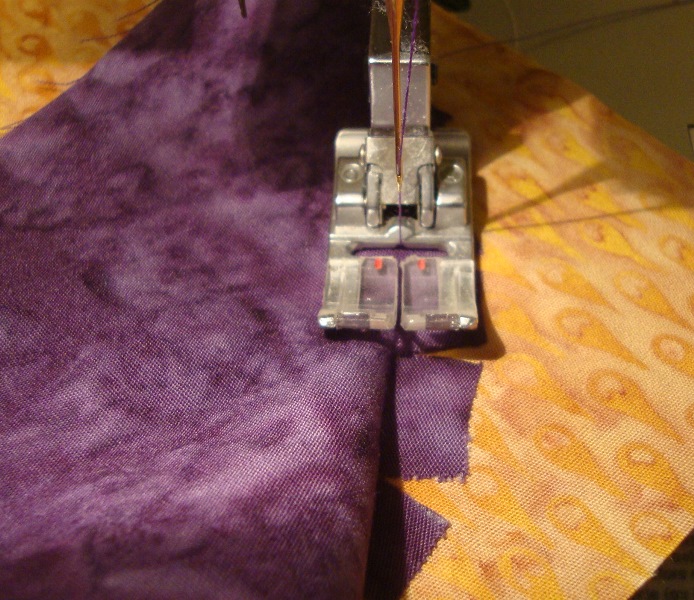
Turn wrong side down, lift the background fabric, and straight stitch in the fold. (as shown). Trim.
If you prefer, you can top stitch from the right side with decorative stitching.
See step two to finish the block.