Skip to content
Pat Durbin
  • Quilts
    • Nature Scenes
    • Animal Inspired
    • People
    • Traditional
    • Christmas
    • Fiber Art Friends
    • Smaller Quilts
  • Blog
    • Updates
    • Newsletters
    • Tips
    • Quilt Story
    • Misc
  • Shop
    • Quilts
    • Books
    • Patterns & Tools
    • Photo Map Kits
  • Classes
  • Contact
  • Accolades
  • Books
  • Events
  • Awards
  • Publications
  • Shows/Exhibits

Misc

Loading...
Jun 22 2015

step 11 trunks ‘n’ flowers

dw trunk3

I'm still at it--(slowly).  There are so many more flowers to do but I must continue - or I'll never get it done.  So--onward!  After getting the two ends sewn together I put down the major tree trunks and several large branches. 

dw trunk3

The smaller branches will be put down as the flowers that grow on them are made. Here are a couple of shots.  As you can see there is a long way to go.

dw trunk4

Jun 18 2015

step 10 dogwood join

dw join 1 800


At the end of the flowers on the first half of the quilt, I decided it was time to join the 2 halves.  This is because there are a bunch of tree trunks, limbs, etc.  It would be harder to join it with all of those pieces needing to match.  So...it will make the piece harder to manipulate under the machine, but it was time.  First, I squared the top of the lower section and cut it.

dw join 1 800

Next, overlapped the cut edge onto the other section and pinned. Then, trimmed the other section longer (1 1/4" longer). I sewed the seam at about 1/2" seam allowance on the short side. 

dw join 2 800

I was able to separate the 3 layers and trim away the batting from that section. Then pressed the seam. 

dw join3 800

Then took the long side of the seam allowance and folded it back under itself and pinned. Hand stitching is necessary to finish that folded edge.  Next I'll start adding trunks and limbs and flowers over....(more flowers!!)

dw join4 800


Jun 16 2015

step 9 pretty in pink

dw pnk 800

Oh, so many flowers! -who was it that decided to make this tree? So I've almost reached the half way mark and there are a few pink flowers before I get there. 

dw pnk 800

So I traced the reversed outline on fusible, pressed it to different prints, then decided to enhance with some paints.

dw pnk1 800

dw pnk2 800

  I still need the double layer even though it isn't needed for a shadow barrier, I want to do stitching on them and need this as a stabilizer before I cut them out and sew to the quilt.

dw pnk3 800

Next I did sew them down - notice some have loose edges here and there.  Then back to centers again.

dw pnk4 800  I did discover that I can do a little zig-zag to attach the centers then add the beads.  Whew.


Jun 11 2015

step 8-flower centers

dw ctrnew800

I've tried a couple of methods and this is the one I think I'll stick with.  I finally decided against the yoyos, though I spent some time making them.  The change seems good to my eye.  What I am doing now is cutting 3 layers of batiks in the color family I desire.  Sometimes all three layers are of 1 fabric and sometimes I mix it up.  Then I cut into the edges, pie style, leaving an uncut center section where I attach a bead and sew it to the quilt top.  After I have several sewn on I put a bit of sizing on my fingers and ruffle up the edges by pinching them.  When it dries it stays fluffed up pretty well.

dw ctrnew800 

I stitch them over the centers of the flowers and vary the sizes and the beads just to mix it up a bit. This is a slow process.  I'm still making flowers and now centers.  I'm approaching the halfway mark, but that's probably wishful thinking.  Got to keep going.....

dw ctrnew1 800


Jun 11 2015

step 7 flowers still

dw flowerst 800


Well it goes on and on I'm making progress, however it's going to take some time.  I think I have about 1/3 of the basic flowers made.  I've been stitching with light colored threads to enhance the flower shapes and make sure the two layers don't separate.  Here's an example, after stitching I trim and attach.

dw flowerst 800

and here's a portion for the top.  After this, I'm experimenting with the flower centers.dw flowers 800


Jun 05 2015

Binding tutorial

binding1 800

I recently taught a class where there wasn't time to finish the binding.  I decided to post a general tutorial about binding.  This uses a simple joining that is appropriate for small quilts.  There are fancier ways to join if you're doing a show quilt.  This is just easy :)

binding1 800


binding2a

Repeat for each corner, when you approach the final edge....


binding3 800


Jun 02 2015

Step 6 flower construction

dw flo 800

Well, the quilting is complete and I've begun the process of making flowers.  I've been afraid to count them but I think there are hundreds! So I'm beginning with several "white on white" fabrics.  I like to have variety so they'll look like individual blooms.  Because the backgound is dark in several places, I am fusing a second layer of white fabric behind as a shadow guard.  This first try, which I think might work is shown as follows.

dw flo 800

I used the enlarged tracing to make patterns for the individual blooms--I'm doing one little section at a time to keep from getting overwhelmed. I then did some minimal paint to help define the flower. 

dw flopaint 800

Next I tried two different methods of stitching...I think the second worked fine and is a bit easier.  Eventually I plan to make some kind of fancy center...but that's a ways off.

dw flostit 800


dw flostitc 800

I probably will be at this stage for weeks (who knows) until I have enough flowers. 


May 30 2015

Step 5 Dogwood quilting

dw qlt 1 800

Just so you know...I often have ideas about how to construct a quilt that may or may not be a help to me.  This particular quilt is quite long and narrow.  I decided to do some preliminary quilting on it to stabalize the piece and prevent a big quilting project when it is finished.  This is an unusual choice for me.  But since I've been sharing the project I'll let you see this too.  Why did I choose to do this?

  • Large pieces are getting harder and harder for me to quilt.  It's a physical challenge.
  • This quilting will be mostly covered with the considerable overlay of applique.
  • I'm working toward a specific size; I want most of the shrinkage to happen before the applique is applied
  • The opportunity to divide the quilt at this point is available, making the whole project way easier to quilt.

Will I be sorry for this choice? That remains to be seen. I hope that when I put the 2 pieces together I can join them well...hmmm. 

Quilting as of now - remember, it should get better as we go. Here are a couple of shots of how I'm doing it. 

dw qlt 1 800


First, I'm using large head pins to baste at about 6" intervals. Since this leafy section is mostly to be covered, I'm not doing much detail and decided on lines as a quilting choice...masking tape helps to have a line to follow. Sometimes it gets in the way. 


dw qlt 2 800


The house section will be quilted with this Superior Rainbows color and of course Bottom line for bobbin thread.

dw qlt 3 800


The flowery background is quilted with an easy flower design, which I hope will peek out here and there and look like some dogwood pedals. 


May 26 2015

step 4 dogwood

dw strips 800

I decided to piece a section that will go behind a heavily flowered section.  I think it will keep me from having to make as many applique pieces. 

dw strips 800

I did strips and then cut them with a 4 1/2" square on angles.

dw 4 in2 800

I placed them randomly and then put them all together.  I like it.


dw pieced 800

May 26 2015

step 3 dogwood

dw transp 800

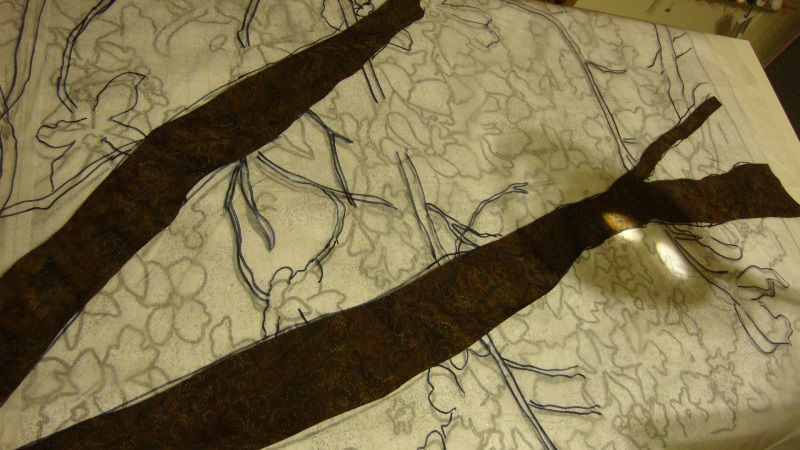
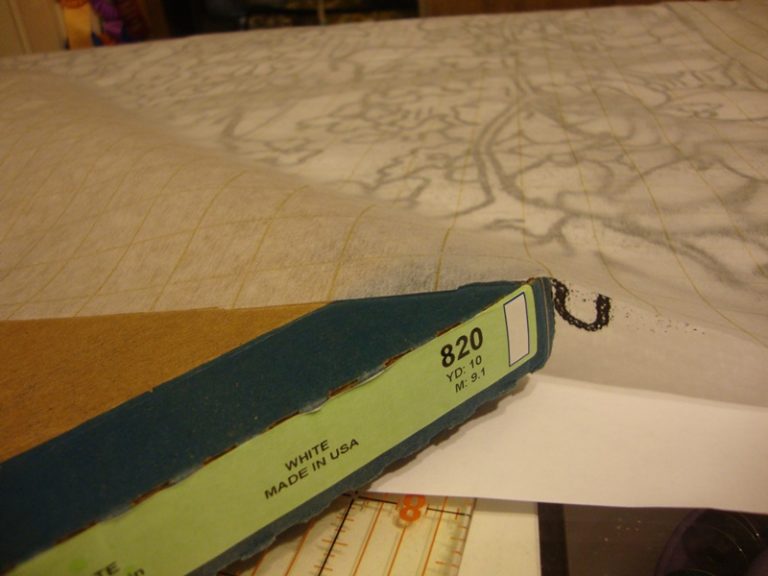
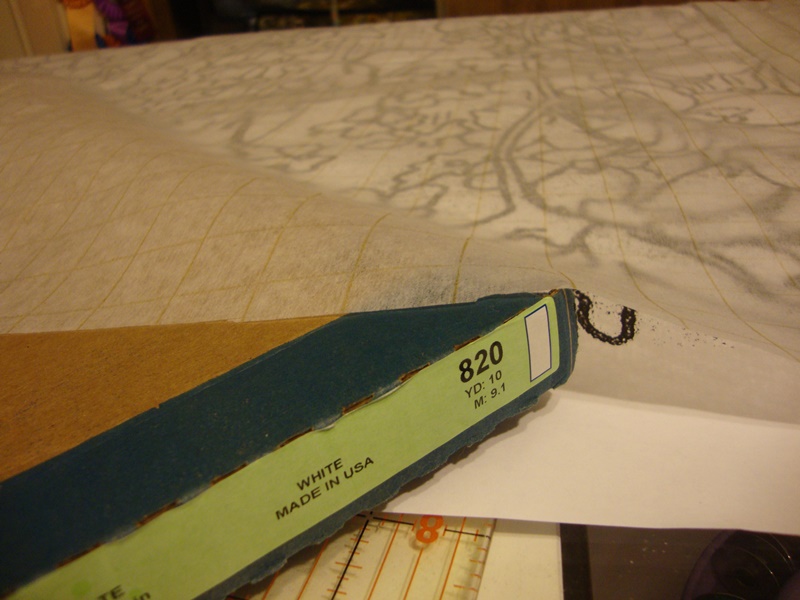
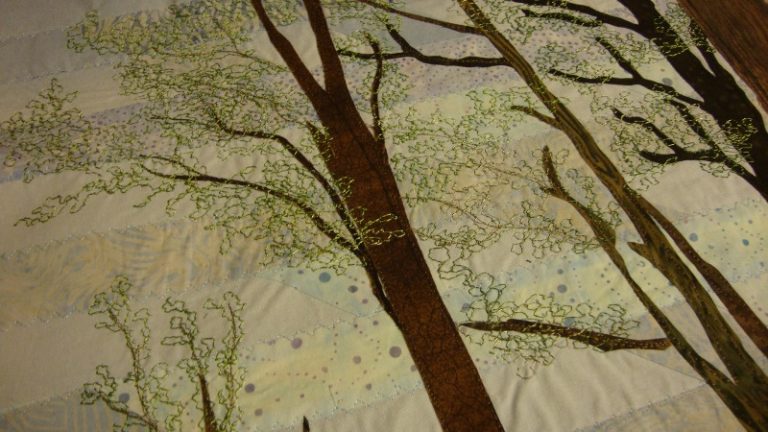
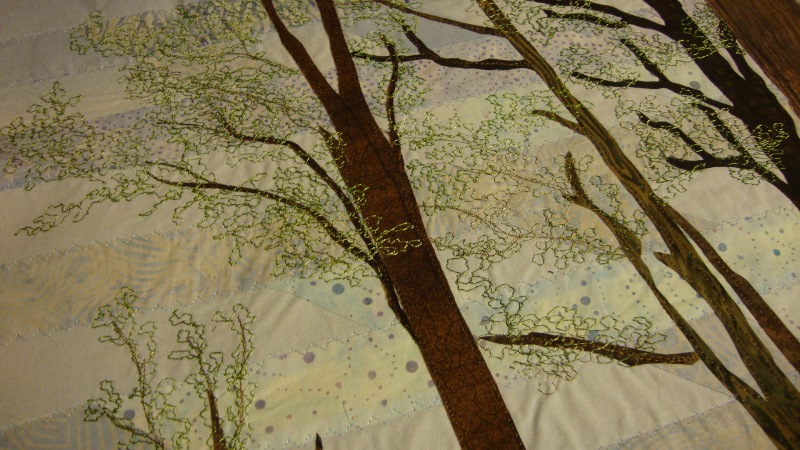
Next step lots of branches.  My plan keeps changing as I work and it's my pleasure to go with the ideas that come along.  I made a crude outline on transparent cellophane. 

dw transp 800

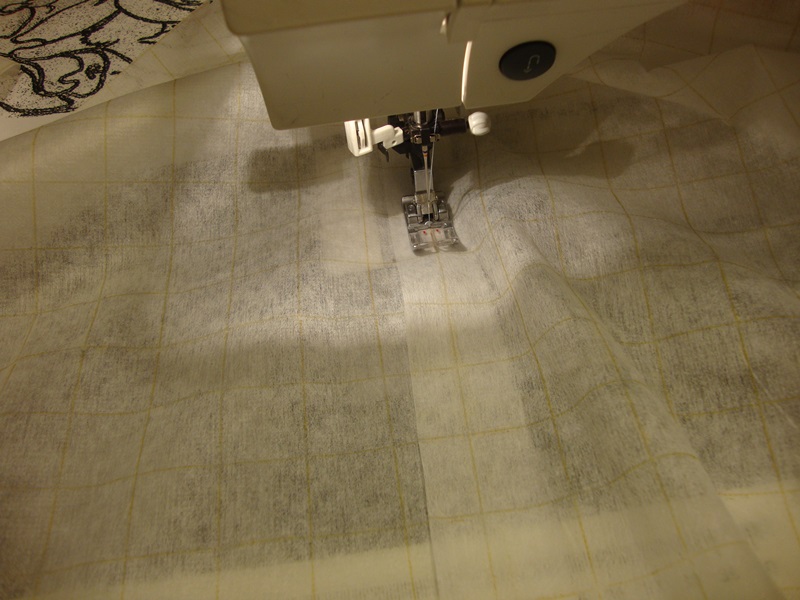
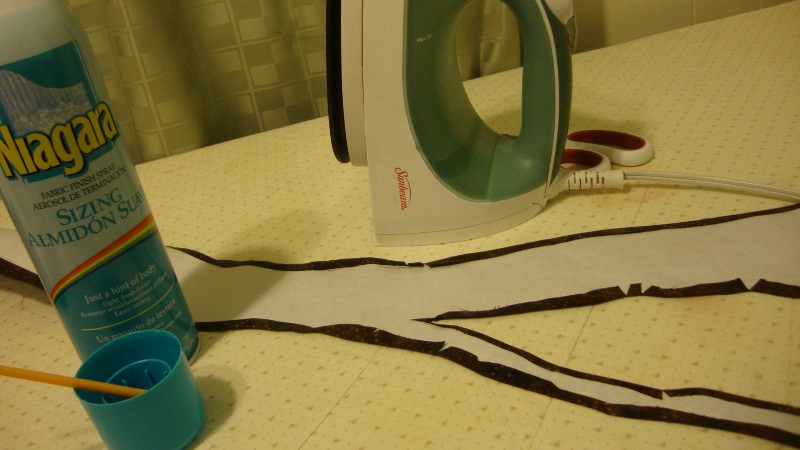
This I can use to place elements and can turn it over for a reverse image. I plan to turn the edges of the large trunks and limbs of the tree.  I use freezer paper to cut the shape in reverse, press it to the back of fabric and Niagra sizing painted on the edge of the fabric. I press the edge over the paper. 

dw freezer 800

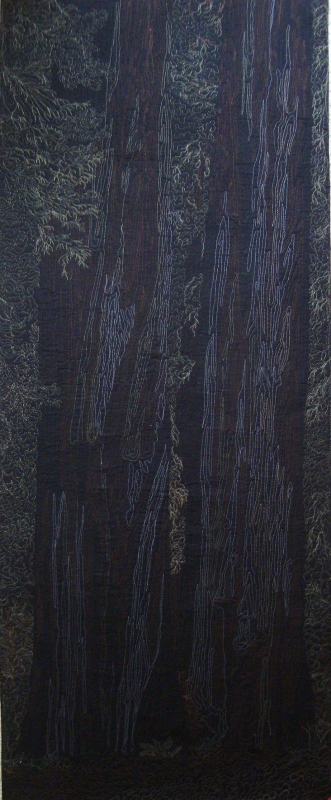
These are the large trunk limbs and there are many smaller ones yet to come.

dw lg trunk 800 


« Previous 1 … 9 10 11 12 13 Next »
Copyright ©2026 Pat Durbin Quilts. All Rights Reserved.