I've been struggling a bit with this project but I'm moving on to see how it will finish up. Here are a couple of snapshots of the progress as it's going... I worked a bit on the hands....then I'll add some more hair Next step...
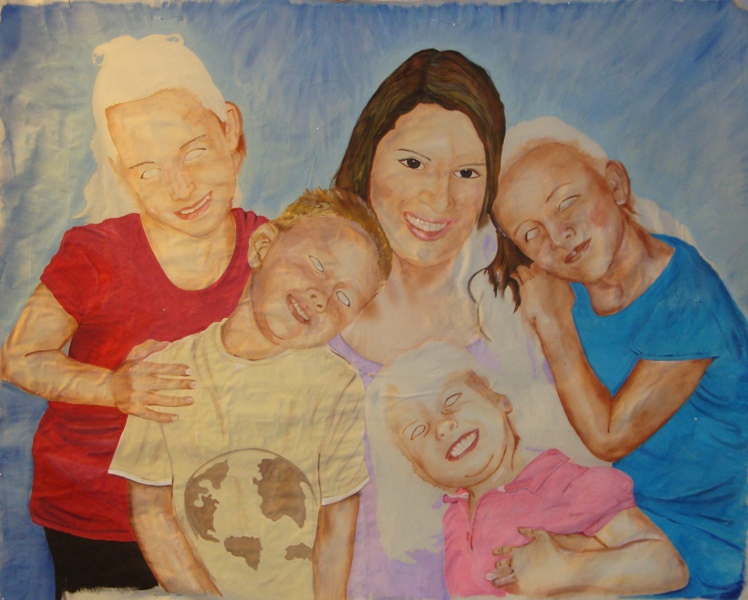
So finally I'm ready to share a couple of more photos. At first the faces don't look like much, because I'm just adding shading. Then I begin to add some details and they will slowly start to take shape I'm also trying to decide on...
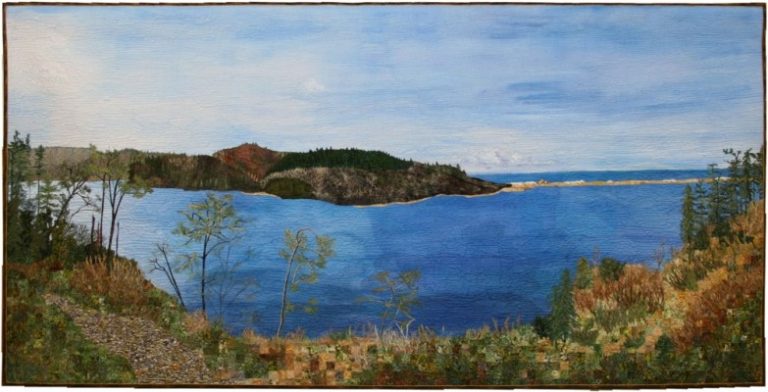
I'm happy to say that I got an email from the judges at "Road to California" Show. My quilt "Beside the Still Waters" has won 2nd place in the Art-Naturescapes category. It's always a great feeling to have my work recognized by others. This scene...
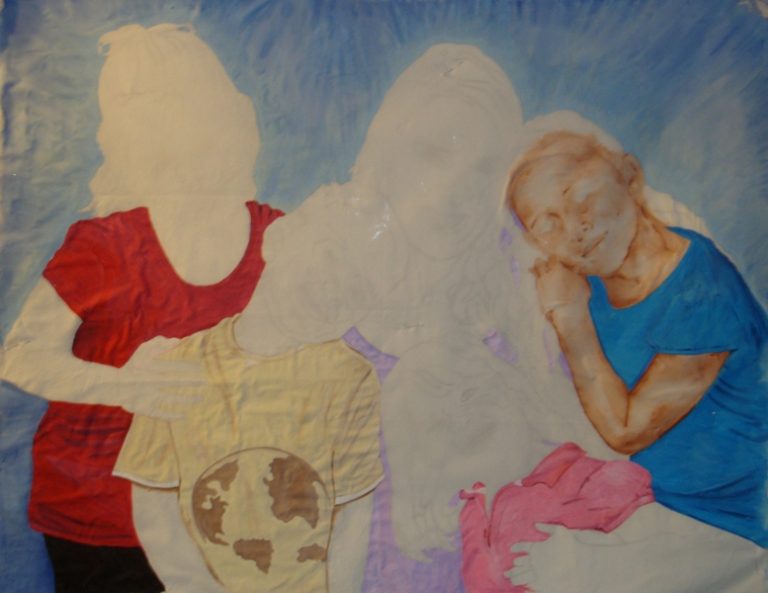
Well, I've been moving along, section by section on that quilt. So busy painting I haven't taken time to blog. That's good, right? At least I'm accomplishing something. Remember that these are first steps, there will a lot of details added after the initial painting--patience...
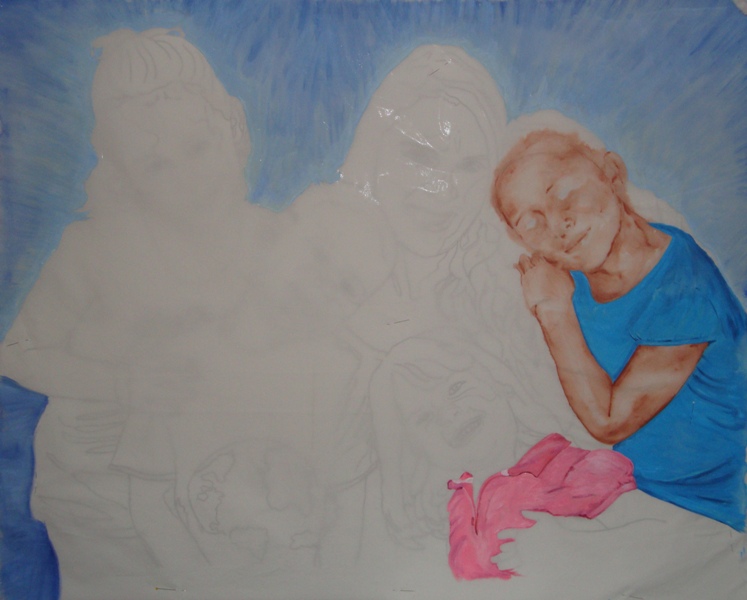
I'm ready to start another new project...this will be a painted one. Elizabeth and her little ones. Tracing the image (with pencil)--makes them look a little strange, but that's what's required.