I am about done with the painting. I might tweek a couple of details, but essentially this is it until the quilting happens.
I hope you’ve enjoyed viewing the process.

I am about done with the painting. I might tweek a couple of details, but essentially this is it until the quilting happens.
I hope you’ve enjoyed viewing the process.
I’ve been struggling a bit with this project but I’m moving on to see how it will finish up.
Here are a couple of snapshots of the progress as it’s going…
I worked a bit on the hands….then I’ll add some more hair


Next step will be the eyes
So finally I’m ready to share a couple of more photos. At first the faces don’t look like much, because I’m just adding shading.
Then I begin to add some details and they will slowly start to take shape

I’m also trying to decide on the next project. Any ideas?
I’m happy to say that I got an email from the judges at “Road to California” Show. My quilt “Beside the Still Waters” has won 2nd place in the Art-Naturescapes category. It’s always a great feeling to have my work recognized by others.
This scene is of Stone Lagoon, a few miles north of where we live. I enjoyed water skiing and boating on this water when I was a young person.
As the painting sessions go on, I fill in more areas. This time we have more shirts. Tomorrow I’ll tackle adding another face or two…
Well, I’ve been moving along, section by section on that quilt. So busy painting I haven’t taken time to blog. That’s good, right? At least I’m accomplishing something.
Remember that these are first steps, there will a lot of details added after the initial painting–patience is required to get the look I want.
So I’ll show you a few of the starting steps
After the tracing, I want a full sized outline.
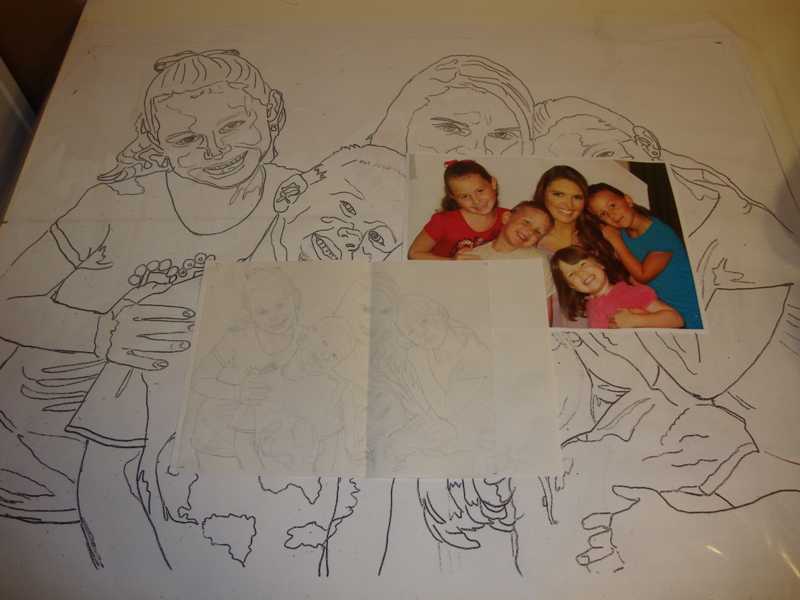
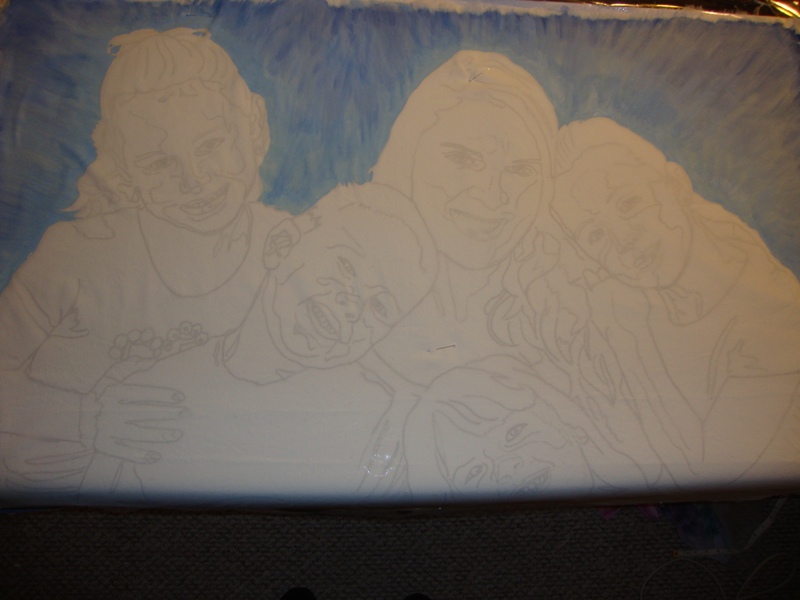
Usually I do the faces first, but I decided to fill in the backgrounds first on this and see how that works out for me. Got to keep trying new methods to refine the process….
Then I begin on the clothes ….
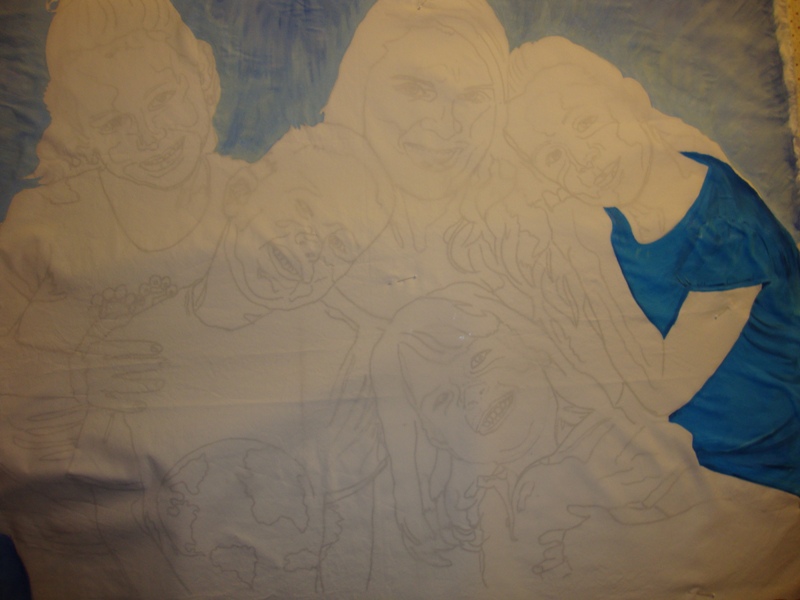
I also got a start on her face and arm – many details on that to come.
Then another shirt.
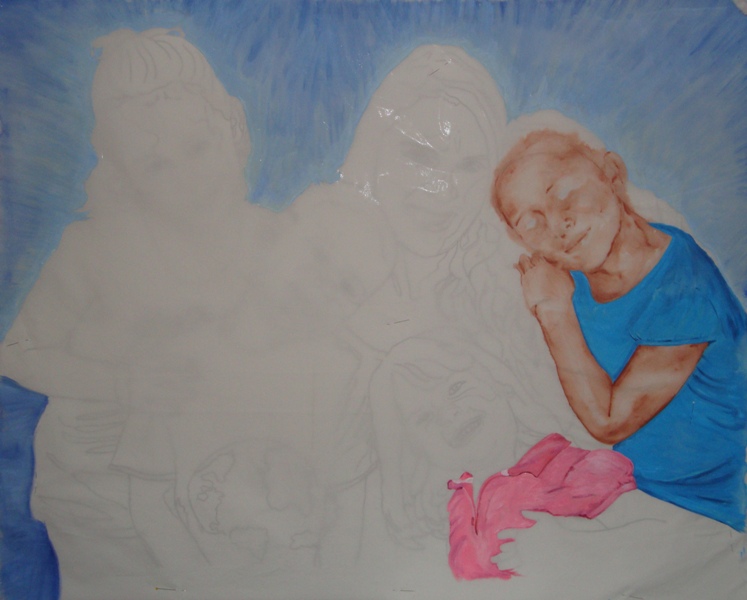
More soon….
Here we are again binding the big quilt.
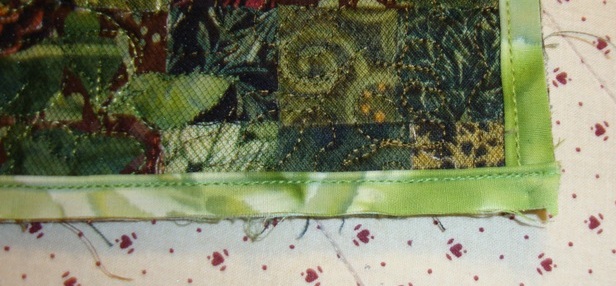
The bottom edge shows the folded back binding ready to be sewn. The top is the already sewn other side. I pinned them together to make sure they match (avoiding the stretch monster). Now I know they are the same size and I can go on with confidence.
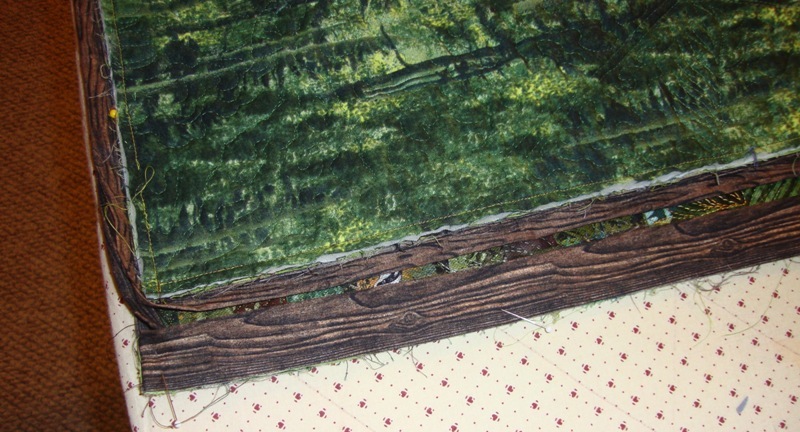
After you have completed 3 sides and have turned the corner on the 4th, you need to leave a gap of at least 10″ or so with tails of binding on each side.
We had folded the beginning edge at a 45 degree already so it’s ready to meet the other end. I put a little basting glue along that diagonal edge and then fit the end binding into it. Smooth it out, make sure everything fits right and then add pins to hold it for sure.
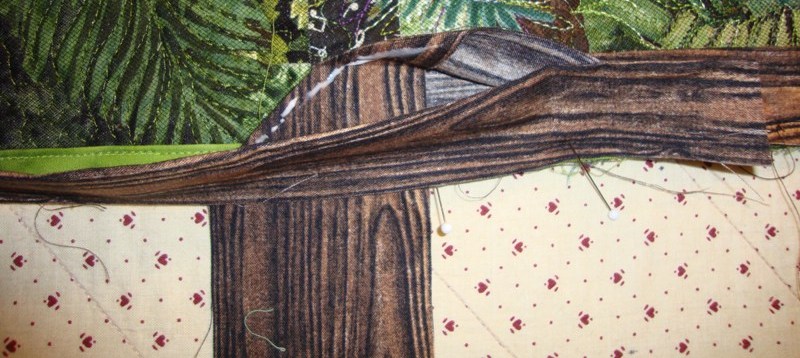
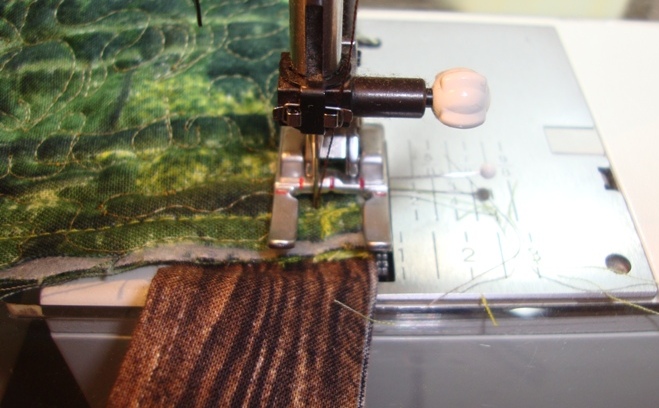
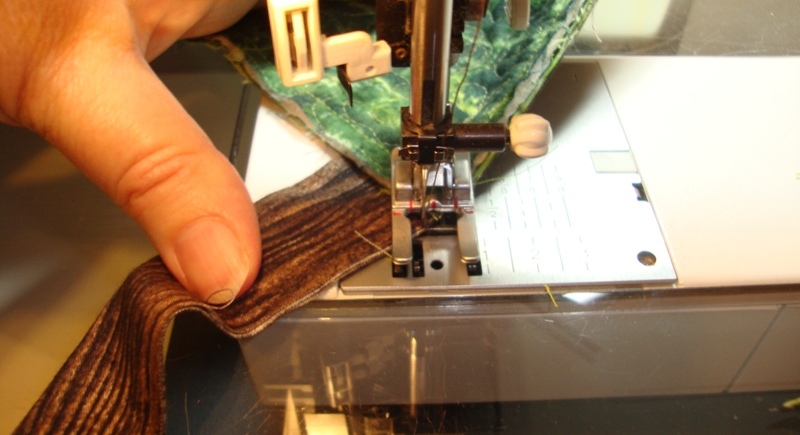
You can then pull the binding away from the quilt and manipulate it to fit into your machine so you can stitch along the folded diagonal. Press the seam open, trim to 1/4″ and then align it along the edge of the quilt again, pin well and stitch the binding to the quilt to complete the whole binding.
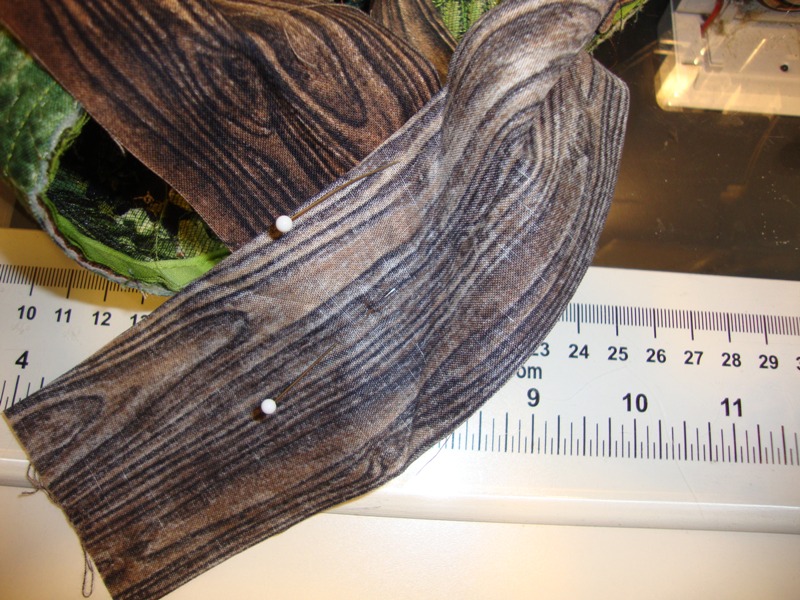
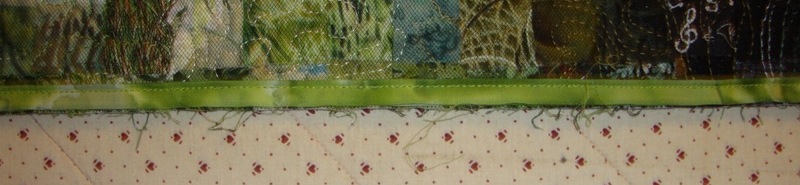
Then you can see it just looks like any other seam along the length of the binding.
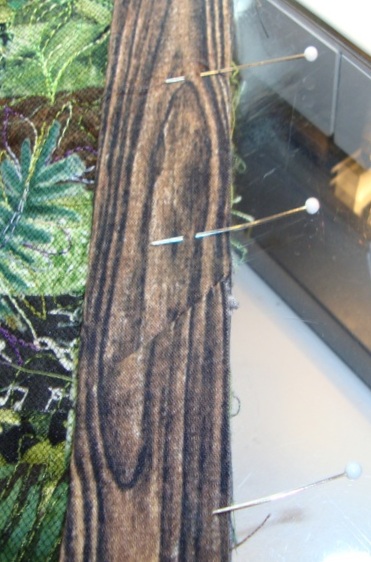
The last step is to turn the folded edge to the back of the quilt and hand stitch with your nicest hand stitching so it covers the machine stitching line and looks great from the back.
It’s done, congratulations!
When there is piping involved I put my binding on upside down and backwards! – this is the method taught by Susan Cleveland and it works great.
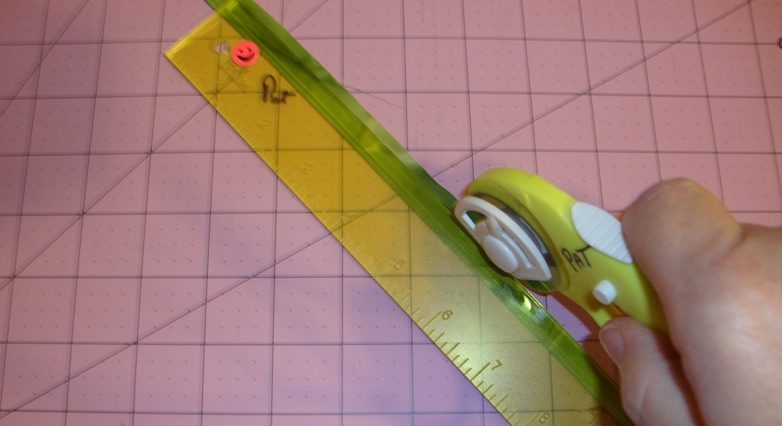
So you join the binding strips with diagonal seams as shown before until you have the length needed to go all around the quilt plus some extra for insurance and joining.
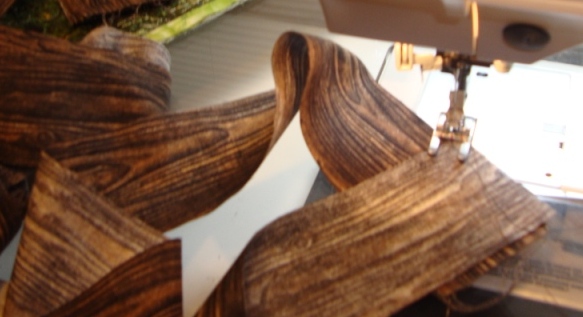
Press seams open raw edges together, right sides out. Leave a tail unsewn of about 10″. (There are easier ways to do this, which I use on my small quilts, but this is hopefully a show quilt and I’ll try to make it top notch.)
I pin baste over the piping (on the ironing board again to avoid the stretching monster) then sew from the back using the piping seam as a guide.
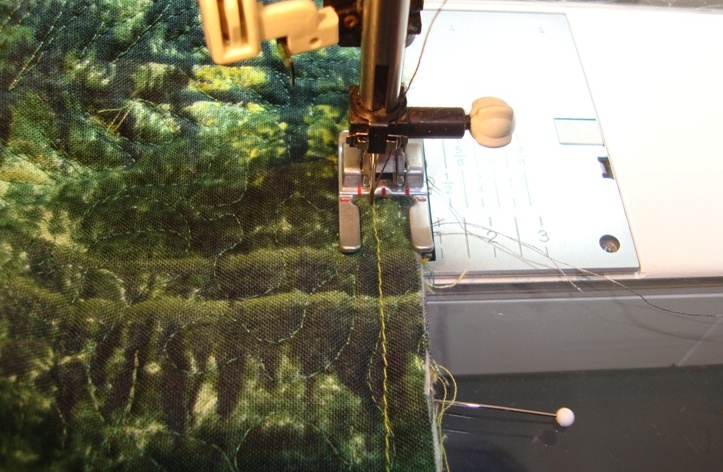
When I get to the corner I stop where the piping seam intersects and drive off the corner diagonally…remove from the machine and fix the corner like you normally would.